
|
Do it yourself
| |||
| ||||


Front Wishbone Replacement
Model: Mazda 6
GG, MK 1
- Years:
2002, 2003, 2004, 2005, 2006, 2007, 2008
Video tutorial
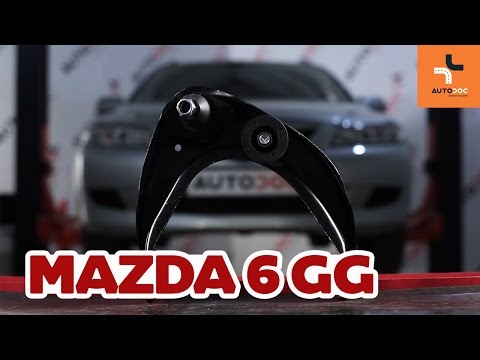
First, position your vehicle on appropriate jack stands to carry out the operation. Remove the wheel and lift your vehicle. Then, remove the brake assembly, including the piston and disc, to access the rear of the hub. Next, unscrew the bolt indicated in the video. To free the wishbone, you will need to apply significant leverage between the bolt and the hole. Now, remove the bolt that secures the wishbone on the other side, ensuring the cradle of your vehicle is secured first. Once the bolts are removed and the wishbone is out, install the new part.
Updated on 24 February 2026 by ScegliAuto
Related tutorials
Mazda 6
(2002-2008 /
GG, MK 1)
In this video, see how to work on a Mazda 6 by removing a wishbone. Position the car on a column lift, loosen the bolts with a telescopic spanner, an…

Mazda 6
(2002-2008 /
GG, MK 1)
This tutorial demonstrates the disassembly and replacement of the upper front control arm on a Mazda 6 (the same procedure applies to the Ford Fusion…
Mazda 6
(2002-2008 /
GG, MK 1)
If you hear noise from the front suspension, especially when driving on uneven surfaces, it is very likely that the suspension wishbone has been dama…
Other guides you may be interested in
|
How to Reset the Tyre Pressure Warning Light on the Jeep Renegade?
To reset the tyre pressure warning light on the Jeep Renegade, inflate the tyres until they reach the recommended pressure: this value is indicated on the sticker attached to the driver’s door pillar. Once the tyres are properly inflated, navigate through the menu that appears on the instrument cluster until you find the tyre pressure option. At this point, press and hold the OK button on the right side of the steering wheel to make the warning light disappear. by ScegliAuto More videos
|
|
For advertising on this site Write to info@scegliauto.com
ScegliAuto is not responsible for any inaccuracy of the data in the lists. To report any inaccuracy or your business (if you own the business in question), please write to info@scegliauto.com
Number of seconds to generate the page: 0.032
(c) ScegliAuto 2026 - info@scegliauto.com - Privacy policy VAT number: IT01247470535 |
