
|
Do it yourself
| |||
| ||||


How to Replace the Upper Steering Arm and the Wishbone
Model: Mazda 6
GG, MK 1
- Years 2002-2008
This tutorial demonstrates the disassembly and replacement of the upper front control arm on a Mazda 6 (the same procedure applies to the Ford Fusion saloon). After lifting the car on a jack and removing the wheel corresponding to the arm to be replaced, slightly decompress the suspension load with a decompression jack: this will aid the process. Take a 17 mm ratchet spanner with an extension and undo the spindle bolt at the ball joint. Use a few taps of a hammer to assist with the operation. Compress the suspension load slightly and, using a 22 mm spanner, undo the two long bolts securing the upper arm. Take the new arm and position it as the previous one, then secure it with the two bolts. The following images also show the most common mistakes in the arm replacement procedure and the correct tools and methodology. Next, replace the rear wishbone. Remove the plastic cover and, using a 20 mm spanner, disassemble the steering shaft, then remove its rubber seal. Move to the underside of the vehicle and remove the two saddle-shaped supports with a ratchet spanner; disassemble the wishbones and fit new ones. Reassemble the steering shaft as before. Tighten each bush and bolt securely and carefully remove the jack.
Updated on 9 February 2026 by ScegliAuto
Video tutorial
Related tutorials
Mazda 6
(2002-2008 /
GG, MK 1)
As you may already know, cars can start to lose performance over time, especially the control arms. But don't worry, in this video, we will see how t…
Mazda 6
(2002-2008 /
GG, MK 1)
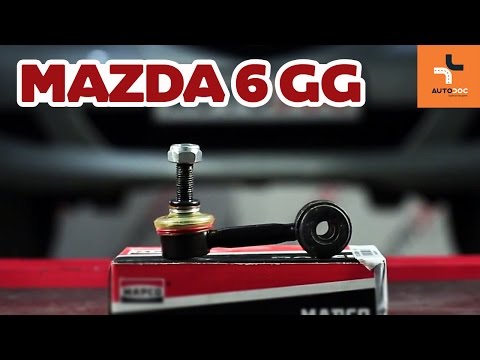
The front stabiliser bar is connected to the suspension wishbone via the so-called drop link, which is a rod equipped with a spherical joint attached…

Mazda 6
(2002-2008 /
GG, MK 1)
If you hear noise from the front suspension, especially when driving on uneven surfaces, it is very likely that the suspension wishbone has been dama…
Other guides you may be interested in
|
How to Bleed the Clutch on a Renault Clio?
To bleed the clutch on a Renault Clio, open the bonnet to access the components located in the engine bay: here, you will need to undo the screws that secure the battery in its housing, the intake manifold, and the coolant reservoir. This will allow you to locate the pipe through which the brake fluid flows: by inserting the other end of the pipe into a container, you can press the clutch pedal to expel all the fluid until it fills the container. by ScegliAuto More videos
|
|
For advertising on this site Write to info@scegliauto.com
ScegliAuto is not responsible for any inaccuracy of the data in the lists. To report any inaccuracy or your business (if you own the business in question), please write to info@scegliauto.com
Number of seconds to generate the page: 0.456
(c) ScegliAuto 2026 - info@scegliauto.com - Privacy policy VAT number: IT01247470535 |
