
|
Do it yourself
| |||
| ||||


How to Replace the Front Control Arm on a Mazda 6
Model: Mazda 6
GG, MK 1
- Years:
2002, 2003, 2004, 2005, 2006, 2007, 2008
Video tutorial
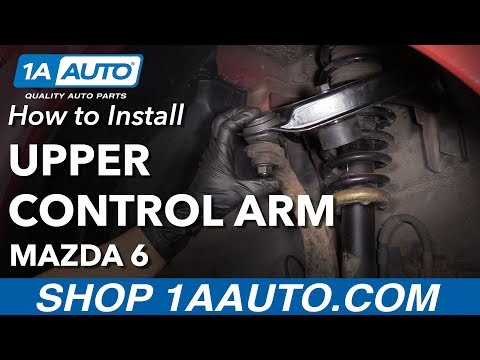
In this video, see how to remove the front control arm from a Mazda 6. First, place the car on a column lift and loosen the wheel bolts with a telescopic spanner. Then, lift the vehicle to your preferred height and remove the wheel. Use a socket spanner to unscrew the lower tightening bolt of the control arm and the bolt mounted under the wheel hub. Unscrew the bolts from the upper part of the arm as shown in the video. Remove the control arm from the bolt seats with the help of a pry bar. Always compare the parts to be replaced with the new ones; if they are suitable, you can install them. Now, begin the installation of the new part: insert the control arm into both ends of the guides and start tightening all the bolts on the threads shown in the video (attach the control arm to the wheel hub and the other end to the chassis). Double-check that everything is tightened properly, then fit the wheel to complete the job.
Updated on 25 February 2026 by ScegliAuto
Related tutorials
Mazda 6
(2002-2008 /
GG, MK 1)
In this video, see how to work on a Mazda 6 by removing a wishbone. Position the car on a column lift, loosen the bolts with a telescopic spanner, an…

Mazda 6
(2002-2008 /
GG, MK 1)
To perform this operation, lift your vehicle to access its underside. If you do not have a ramp, it is sufficient to place your vehicle on axle stand…
Mazda 6
(2002-2008 /
GG, MK 1)
As you may already know, cars can start to lose performance over time, especially the control arms. But don't worry, in this video, we will see how t…
Other guides you may be interested in
|
How to Reset the Tyre Pressure Warning Light on the Jeep Renegade?
To reset the tyre pressure warning light on the Jeep Renegade, inflate the tyres until they reach the recommended pressure: this value is indicated on the sticker attached to the driver’s door pillar. Once the tyres are properly inflated, navigate through the menu that appears on the instrument cluster until you find the tyre pressure option. At this point, press and hold the OK button on the right side of the steering wheel to make the warning light disappear. by ScegliAuto More videos
|
|
For advertising on this site Write to info@scegliauto.com
ScegliAuto is not responsible for any inaccuracy of the data in the lists. To report any inaccuracy or your business (if you own the business in question), please write to info@scegliauto.com
Number of seconds to generate the page: 0.027
(c) ScegliAuto 2026 - info@scegliauto.com - Privacy policy VAT number: IT01247470535 |
