
|
Do it yourself
| |||
| ||||


How to change the cabin air filter of the Mercedes Class A W168
Model: Mercedes Classe A
W168
- Years 1997-2004
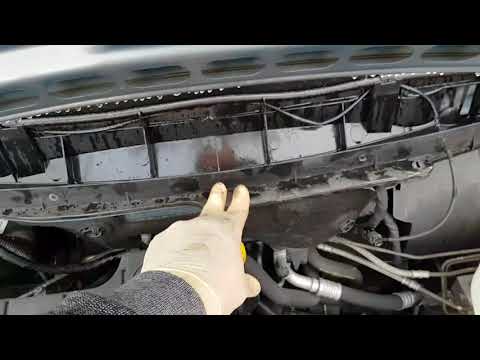
On the Mercedes Classe A W168, the cabin air filter is accessed from the engine compartment, in the area under the windshield. In the video, the hood is opened and the focus is immediately directed towards the long plastic cover under the windshield (the black cover near the grille), as that is where the filter door is located. To reach it, the screws of the cover are removed with a tool, and the visible fasteners along the edge are unscrewed, then the plastic is lifted just enough to create access. With the cover raised, the point where the filter is inserted is clearly visible: at that point, it is grasped and pulled out by sliding it out of its seat. In the video, the old filter is shown up close, and it is immediately clear why it should be replaced. After freeing the housing, the new filter is taken and inserted in the same direction, pushed in straight until it is seated correctly, ensuring it is supported properly and does not bend. Once the replacement is finished, the under-windshield cover is closed by returning it to position, and all the screws are put back in, checking that the edges are well seated and that no gaps remain.
Posted on 22 January 2026 by ScegliAuto
Video tutorial
Related tutorials
Mercedes Classe A
(1997-2004 /
W168)
If you are looking for the fuse box that contains all the various fuses for the cabin of your Mercedes A-Class W168, then this guide is what you need…

Mercedes Classe A
(1997-2004 /
W168)
Replacing the air filter on a Mercedes Class A W168 is a relatively simple operation. Follow these steps. Open the hood: make sure the engine is cold…
Mercedes Classe A
(1997-2004 /
W168)
Today we will see the instructions to remove and replace the cabin air filter of a Mercedes A-Class 140 W168, first series. First, open the hood of y…
Other guides you may be interested in
|
How to Reset the Tyre Pressure Light on the Opel Grandland X
While driving, if you notice the tyre pressure warning light coming on, first check the actual inflation pressure of the tyres and, if necessary, restore the pressures recommended by the manufacturer. After restoring the correct pressures, you need to reset the warning light that has illuminated on the instrument cluster. To do this, locate the reset button on the lower central console. Press this button and hold it down for at least 3 seconds, after which the low pressure indication will turn off. by ScegliAuto More videos
|
|
For advertising on this site Write to info@scegliauto.com
ScegliAuto is not responsible for any inaccuracy of the data in the lists. To report any inaccuracy or your business (if you own the business in question), please write to info@scegliauto.com
Number of seconds to generate the page: 0.259
(c) ScegliAuto 2026 - info@scegliauto.com - Privacy policy VAT number: IT01247470535 |
