
|
Do it yourself
| |||
| ||||


How to Replace the Air Filter on a Mercedes CLK
Model: Mercedes Clk
A208, C208, W208
- Years:
1997, 1998, 1999, 2000, 2001, 2002, 2003
Video tutorial
How to replace the air filter on a Mercedes CLK? Let's see how to carry out the removal of the part. Open the car door, pull up the engine compartment release lever located at the bottom left of the dashboard, and lift the front bonnet. Remove the soundproofing panel of the engine (if necessary); open the air kit (unclip the fastening clips), remove the cover of the filter box, and extract the worn filter. Insert a new filter into the designated housing (ensuring it fits snugly around the walls). Finally, reattach the cover of the air box and secure it with the clips. Close the front bonnet after maintenance.
Updated on 12 March 2026 by ScegliAuto
Related tutorials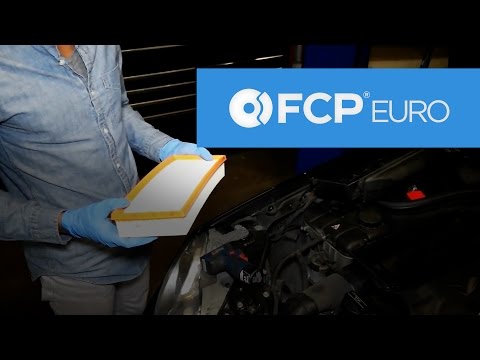
Mercedes Clk
(2002-2010 /
A209, C209, W209)
In today's tutorial, you will learn how to remove and replace the engine air filter on a Mercedes CLK. First, obtain the new air filter and open the …

Mercedes Clk
(1997-2003 /
A208, C208, W208)
Are you experiencing operational issues with your Mercedes CLK? Here's how to properly remove and replace the mass air flow sensor. Open the bonnet, …

Mercedes Clk
(1997-2003 /
A208, C208, W208)
Let's see how to change the diesel filter on a Mercedes CLK. The diesel filter is located at the rear of the vehicle, under the car's floor. Lift the…
Other guides you may be interested in
|
Where to Find and How to Remove the Spare Wheel of a Peugeot 5008?
The spare wheel of a Peugeot 5008 is located under the rear of the vehicle. To remove it, you need to lift the third row of seats to access the fixing bolt that holds the spare wheel in position. Using the correct spanner, proceed to unscrew the fixing bolt until the wheel is no longer secured. At this point, you can extract the spare wheel from underneath the vehicle. Once you have completed this step, you are free to fit the spare wheel. Ensure you correctly remount the spare wheel and securely tighten the fixing bolt when you are finished. by ScegliAuto More videos
|
|
For advertising on this site Write to info@scegliauto.com
ScegliAuto is not responsible for any inaccuracy of the data in the lists. To report any inaccuracy or your business (if you own the business in question), please write to info@scegliauto.com
Number of seconds to generate the page: 0.076
(c) ScegliAuto 2026 - info@scegliauto.com - Privacy policy VAT number: IT01247470535 |
