
|
Do it yourself
| |||
| ||||


Engine Mount Replacement Instructions
Model: Mercedes Classe C
W202
- Years 1993-2000
The engine mount (or silent block) is a rubber structure that dampens vibrations that the engine would transmit to the chassis if there were a rigid connection. Because it is made of rubber, it tends to deteriorate over time, especially if the vehicle operates on snowy roads during winter where salt is spread to melt the snow. A very useful tip to preserve the lifespan of rubber mounts is to lubricate them regularly. In the case of the vehicle in question, the mount is located at the bottom and is secured with a central bolt: it is advisable, if possible, to lift the vehicle on a hydraulic lift rather than on jack stands. Once the central bolt is removed, slightly raising the engine with a hydraulic piston support will allow for the replacement to proceed.
Updated on 8 February 2026 by ScegliAuto
Video tutorial
Related tutorials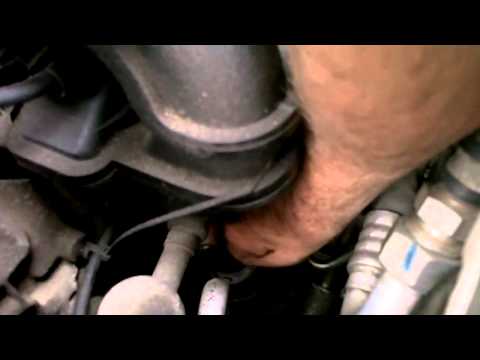
Mercedes Classe C
(1993-2000 /
W202)
The failure of the mount (better known as a rubber bushing) is a common issue and manifests as noticeable noise, especially when driving on rough sur…
Mercedes Classe C
(2007-2013 /
W204)
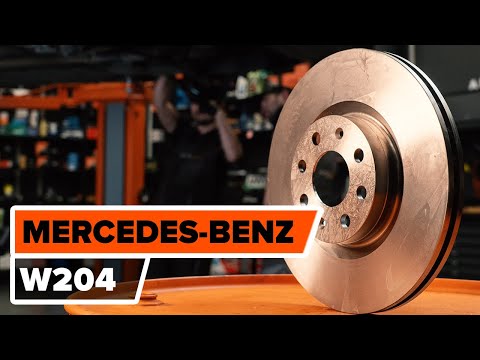
To replace the front brake discs and pads, start by lifting the vehicle on a lift and removing the front wheel. Next, remove the caliper mounting bol…
Mercedes Classe C
(1993-2000 /
W202)
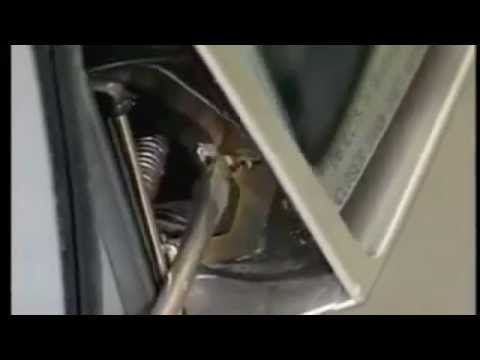
Bend the mirror toward the engine to access the retaining clip located at its base. Use a screwdriver to pry between the mount and the retaining spri…
Other guides you may be interested in
|
Installation of Upgraded Intercooler Radiator with Pipes
Lift the vehicle on suitable axle stands, remove the front wheels, and then the front bumper and grille. Proceed to remove the front headlights; drain the coolant, remove the intercooler radiator and the hoses connecting it to the intake system. Position the new intercooler radiator in the grille, temporarily securing it with cable ties, and mark with a marker the part of the metal that needs to be removed to allow the new hoses to pass through. Cut the marked portion of metal and apply a gasket to the edge. Remove the inner cover of the bumper and position it near the radiator to identify any interfering parts to eliminate: again, apply a gasket to the edge of the cut. Create brackets for securing the new radiator and proceed with the installation of the connecting pipes from the radiator to the intake, shaping and connecting them appropriately. Finally, reassemble the bumper, headlights, and grille. by ScegliAuto More videos
|
|
For advertising on this site Write to info@scegliauto.com
ScegliAuto is not responsible for any inaccuracy of the data in the lists. To report any inaccuracy or your business (if you own the business in question), please write to info@scegliauto.com
Number of seconds to generate the page: 0.065
(c) ScegliAuto 2026 - info@scegliauto.com - Privacy policy VAT number: IT01247470535 |