
|
Do it yourself
| |||
| ||||


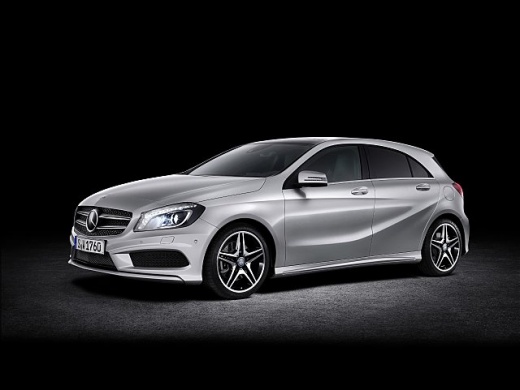
Replacing the Headlight Bulb in the Mercedes A-Class
Model: Mercedes Classe A
W176
- Years:
2012, 2013, 2014, 2015, 2016, 2017, 2018
Video tutorial
If the low beam headlight bulb in the Mercedes A-Class burns out, you need to replace it as soon as possible for your safety and to avoid penalties. Position yourself in front of the headlight containing the bulb to be replaced. After turning the wheel inward, you will find a small access cover in the front wall of the wheel well that you can open by rotating two screw locks. This allows you to remove the rear cover of the headlight, release the metal clip, pull out the burned-out bulb, and disconnect it from the connector. Insert a new H7 bulb, position it in its socket, secure it with the metal clip, replace the cover, and close the access door.
Updated on 5 October 2026 by ScegliAuto
Related tutorials
Mercedes Classe A
(1997-2004 /
W168)
.. beam bulb in the front headlight of a Mercedes A-Class. First, open the hood and start by removing the tray located above the headlight; then remove the.. …

Mercedes Classe A
(2012-2018 /
W176)
.. traditional cabin light bulbs in the Mercedes A-Class W176 with LED types to give the vehicle a much more modern and appealing look, as well as significantly.. …

Mercedes Classe A
(2004-2012 /
W169)
.. the rear headlight bulb in a Mercedes-Benz A-Class, open the trunk and remove the side panel of the trunk corresponding to the affected light. Behind.. …
Other guides you may be interested in
|
How to Remove the Rear Seat of a Hyundai Tucson?
To remove the rear seat of a Hyundai Tucson, follow these steps. Start by moving the front seats to their most forward position to gain space. Next, locate the release lever on the underside of the rear seat, near the floor. Press this lever down while pulling the seat upwards to unlock it from the anchor pins. Once unlocked, tilt the seat upwards and forwards to remove it from its position. Repeat this process for both sides of the rear seat. Be careful of any electrical cables or components that may be connected to the seat during removal. Once the rear seat is removed, the disassembly is complete. by ScegliAuto More videos
|
|
For advertising on this site Write to info@scegliauto.com
ScegliAuto is not responsible for any inaccuracy of the data in the lists. To report any inaccuracy or your business (if you own the business in question), please write to info@scegliauto.com
Number of seconds to generate the page: 0.083
(c) ScegliAuto 2026 - info@scegliauto.com - Privacy policy VAT number: IT01247470535 |
