
|
Do it yourself
| |||
| ||||


How to disassemble the tensioner of the Mini R50
Model: Mini Mini
R53, R52, R50
- Years 2001-2007
In this video we see how to disassemble the tensioner of the Mini R50: first of all we disconnect the battery, then we move to the passenger side and remove the fuel tank vent valve, which is located right above the tensioner. We press the tabs both top and bottom to remove the connections. Under the valve, we will find an electrical plug that must be disconnected and removed. Now we will have to lift the front part of the car, and remove the front splash guard located under the front part. We will then remove the upper cover of the airbox, the air filter, the air supply tubes and the lower airbox; this is to access one of the bolts located on the transmission support. Now we will have to find a way to support the engine with a jack, because we will have to loosen the long 16mm bolt that secures the rubber transmission support to the bracket on the driver's side in the engine compartment. Here we will find a radiator hose passing just below the intercooler; we will have to remove the clamp holding it in place. Now we will have to remove the upper mounting bracket on the passenger side, removing the nut and bolt securing the ground cable, then the bracket of the flexible hose, and the wheel arch supports. Now we have to remove two long 10mm bolts that secure the tensioner arm, in order to remove it from the engine.
Posted on 3 February 2025 by ScegliAuto
Video tutorial
Related tutorials
Mini
(2001-2007 /
R53, R52, R50)
The service belt refers, regardless of the car model, to the belt that allows the alternator, water pump, and air conditioner to function. In the Min…
Mini
(2001-2007 /
R53, R52, R50)
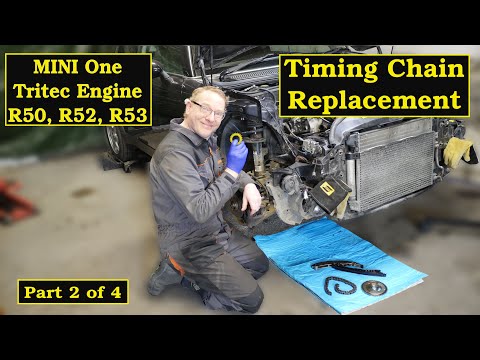
To replace the timing chain on the Mini R50, you need to completely disassemble the front right wheel by unscrewing the bolts and removing it from th…
Mini
(2001-2007 /
R53, R52, R50)
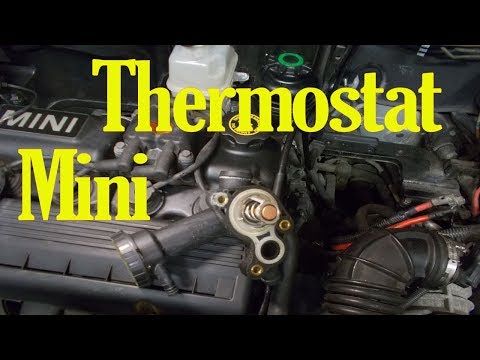
In this video, we will discover the procedure to remove and replace the thermostat on the first series Mini Cooper R50. First, drain the coolant; to …
Other guides you may be interested in
|
How to Reset the Central Locking of the Volkswagen Golf 4?
If the central locking system of the Volkswagen Golf 4 is not working, it is likely necessary to reset the system: to do this, open the driver's door and detach the side panel of the dashboard next to the steering wheel. Under this panel, you will find the fuses, including the one for the central locking, which is indicated in the manual as number 14. To reset the system, remove this fuse from its housing, then reinsert it or replace it with a new one of the same amperage: this will reset the central locking system. by ScegliAuto More videos
|
|
For advertising on this site Write to info@scegliauto.com
ScegliAuto is not responsible for any inaccuracy of the data in the lists. To report any inaccuracy or your business (if you own the business in question), please write to info@scegliauto.com
Number of seconds to generate the page: 0.139
(c) ScegliAuto 2026 - info@scegliauto.com - Privacy policy VAT number: IT01247470535 |
