
|
Do it yourself
| |||
| ||||


How to Reset the Variable Valve Timing on a Mini R56 Camshaft
Model: Mini Mini
R56, R55, R57
- Years 2007-2014
In this video, learn how to reset the variable valve timing on a Mini R56 camshaft. You will need a scan tool; the YouTuber recommends a Foxwell. A more affordable model, the B8R, is available on eBay with code 383453226359 for £96.14, including free delivery. This is necessary if you have just replaced the timing chain. Insert the key into the ignition and start the engine without pressing any pedals. Connect the scanner to the OBD port located under the dashboard. The scanner will load the vehicle data, then confirm that it is a Mini. The scanner will find the VIN number, load the data, and begin diagnostics. Press "Enter", then set it to "Drive". The scanner will identify the necessary adaptations; press "Enter". Now it will prompt you to check the variable valve timing on the camshaft; proceed. It will now instruct you to place the gear selector in "P". The vehicle must be stationary and level. Proceed. Now it says to reset the adaptation values, which will reset when you press Enter. The adaptation values have been reset. Now turn off the ignition and wait 15 seconds for the data to be stored. Then disconnect the scanner, and the operation is complete.
Updated on 23 August 2026 by ScegliAuto
Video tutorial
Related tutorials
Mini
(2007-2014 /
R56, R55, R57)
In this short guide, we will see the useful information for adjusting the distribution and camshaft of the Mini Cooper. First of all, lift the vehicl…
Mini
(2007-2014 /
R56, R55, R57)
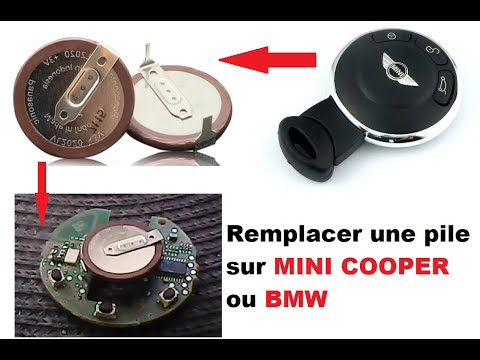
To replace the battery of the Mini R56 remote, use a tool as a lever to separate the two halves of the remote by inserting it into the groove formed.…
Mini
(2007-2014 /
R56, R55, R57)
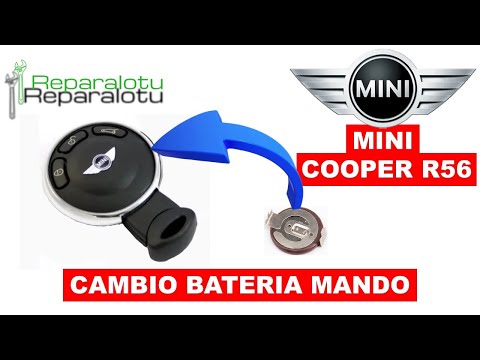
In this video, see how to replace the exhausted battery of the Mini R56 remote and similar models. We will deal with a keyless remote. Remove the key…
Other guides you may be interested in
|
Frequently Asked QuestionsHow to Replace the Remote Battery for the Volvo XC40?
In this tutorial, you will see how to replace the battery in the remote for the Volvo XC40, a very simple and quick operation. For this, you will need a replacement battery of type CR2032 and possibly a small flathead screwdriver. First, remove the front cover by pressing the button on the metal ring, then locate the second button, press it as well, and remove the opposite cover. Next, open the circular cap, take out the old battery, and insert the new one in the opposite direction. Finally, reassemble everything. by ScegliAuto More videos
|

|
For advertising on this site Write to info@scegliauto.com
ScegliAuto is not responsible for any inaccuracy of the data in the lists. To report any inaccuracy or your business (if you own the business in question), please write to info@scegliauto.com
Number of seconds to generate the page: 0.200
(c) ScegliAuto 2026 - info@scegliauto.com - Privacy policy VAT number: IT01247470535 |
