
|
Do it yourself
| |||
| ||||


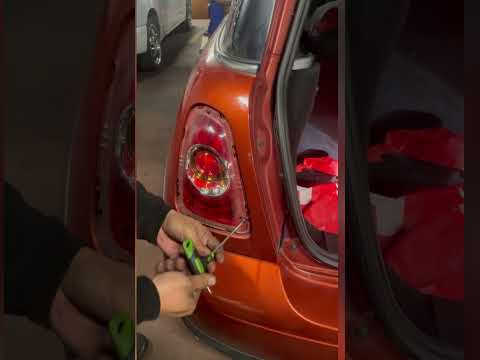
Removal of the rear taillight of the Mini Cooper
Model: Mini Mini
R56, R57, R55
- Years 2007-2014
Let's see how to proceed to disassemble the rear headlight of the Mini Cooper S in case we need to replace a burned out bulb or to change the model. Let's position ourselves in front of the headlight to be removed and with a plastic lever, to avoid leaving marks, remove the chrome frame by levering along the entire edge to release the clips that hold it in place. Using a Torx screwdriver, unscrew the three screws that secure the headlight body and, always using the plastic lever, we can remove it from its seat. Now disconnect the electrical connector, for reassembly proceed in reverse with the operations.
Posted on 19 March 2024 by ScegliAuto
Video tutorial
Related tutorials
Mini
(2010-2016 /
Countryman1, R60)
To remove the rear light of the Mini Cooper, we first need to open the trunk of the car and then remove the side part of the carpet in order to acces…
Mini
(2007-2014 /
R56, R57, R55)
If you need to remove one of the rear lights of your Mini Cooper R56 but you don't know how to do it, don't worry because we will explain step by ste…

Mini
(2007-2014 /
R56, R57, R55)
Today, you will learn how to replace the rear headlamp bulb on a Mini Cooper independently. To replace the bulb, remove the lower cover located on th…
Other guides you may be interested in
|
How to Remove the Spark Plugs from a Volkswagen Up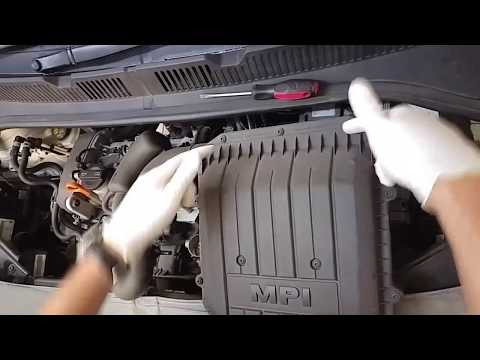
How to remove and replace the spark plugs on a Volkswagen Up? Follow these steps for proper removal. Pull the lever to open the engine compartment and lift the front bonnet, securing it in place. Remove the plastic soundproofing panel on the cylinder head, then disconnect the power connectors using a screwdriver after unscrewing them with a socket wrench. Pull off the coils by hand and unscrew the spark plugs with the socket wrench, finally pulling them out of the cylinder head. Take the new spark plugs and guide them into the engine head using the extension of the socket wrench. Finally, tighten the spark plugs securely and reconnect the respective power connectors. To finish: reassemble the soundproofing panel and close the engine bonnet. - Socket wrench with sockets - Flat or screwdriver bits - Battery-powered screwdriver - Protective gloves. by ScegliAuto More videos
|

For advertising on this site Write to info@scegliauto.com
ScegliAuto is not responsible for any inaccuracy of the data in the lists. To report any inaccuracy or your business (if you own the business in question), please write to info@scegliauto.com
Number of seconds to generate the page: 0.073
(c) ScegliAuto 2026 - info@scegliauto.com - Privacy policy VAT number: IT01247470535 |