
|
Do it yourself
| |||
| ||||


How to replace the rear headlight bulb of the Mitsubishi Lancer
Model: Mitsubishi Lancer
MK 9
- Years 2007-2020
If one of the bulbs in the rear light of your Mitsubishi Lancer has stopped working and you want to find out how to replace it yourself, then all you need to do is carefully read the following guide and follow all the steps. First of all, make sure to purchase a new bulb that is perfectly compatible with your car, then lift the rear hood and remove the safety caps. Once you have done that, remove the protective covering and unscrew the screws. Finally, locate the bulb holder and replace the faulty bulb with the new one.
Posted on 7 May 2025 by ScegliAuto
Video tutorial
Related tutorials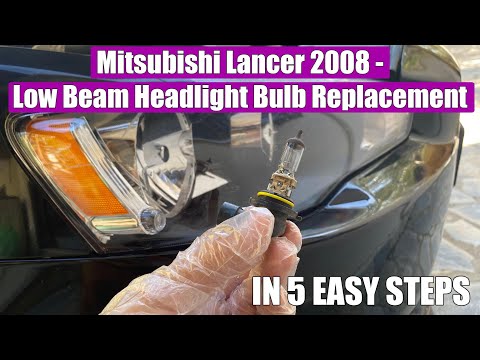
Mitsubishi Lancer
(2007-2020 /
MK 9)
Replacing the headlight bulb in your 2008 Mitsubishi Lancer is undoubtedly one of the simplest and safest DIY operations to perform. With the followi…

Mitsubishi Lancer
(2007-2020 /
MK 9)
To replace the low beam bulb of your latest Mitsubishi Lancer on your own, simply read the following guide carefully and follow all the described ste…

Mitsubishi Lancer
(2000-2006 /
MK 8)
Today we will go through the steps that will allow us to disassemble and replace the rear light and its bulbs on the Mitsubishi Lancer. First, let's …
Other guides you may be interested in
|
How to Reset the Tyre Pressure Light on the Opel Grandland X
While driving, if you notice the tyre pressure warning light coming on, first check the actual inflation pressure of the tyres and, if necessary, restore the pressures recommended by the manufacturer. After restoring the correct pressures, you need to reset the warning light that has illuminated on the instrument cluster. To do this, locate the reset button on the lower central console. Press this button and hold it down for at least 3 seconds, after which the low pressure indication will turn off. by ScegliAuto More videos
|
|
For advertising on this site Write to info@scegliauto.com
ScegliAuto is not responsible for any inaccuracy of the data in the lists. To report any inaccuracy or your business (if you own the business in question), please write to info@scegliauto.com
Number of seconds to generate the page: 0.302
(c) ScegliAuto 2026 - info@scegliauto.com - Privacy policy VAT number: IT01247470535 |
