
|
Do it yourself
| |||
| ||||



Phase points for replacing the timing chain of the Opel Mokka 1.6 CDTi
Model: Vauxhall Mokka
Mokka A
- Years:
2012, 2013, 2014, 2015, 2016, 2017, 2018, 2019
Video tutorial
In this video we can see, well illustrated, the timing points for the removal of a distribution chain of an Opel Mokka 1.6 CDTi; this operation must be done at 150,000 km or six years. First of all, we see where to position the timing point of the crankshaft, then we move on to that of the diesel pump and that of the camshaft. Let's move to the other side of the engine: now we will need specific tools to block the last two points: one is a tool that is used to block the engine crankshaft (mrworker.com with the code ks tools 400.0316 at the price of 64.26 euros + 6.83 euros for delivery) and a tool to block the camshaft (magazzinimax.it code 6539320 price 46.16 euros, free delivery).
Posted on 17 December 2024 by ScegliAuto
Related tutorials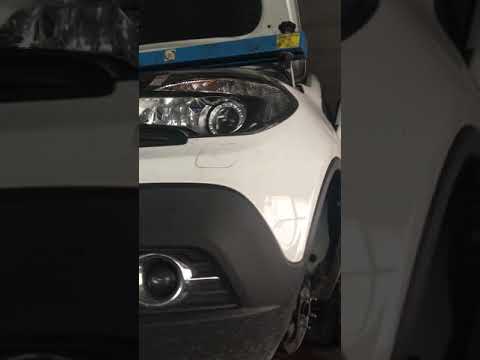
Vauxhall Mokka
(2012-2019 /
Mokka A)
In this video tutorial, we will follow useful tips that will allow us to remove the timing chain from an Opel Mokka 1.6 CDTi. First, lift the vehicle…

Vauxhall Mokka
(2012-2019 /
Mokka A)
Today we will discover the process of how to disassemble and replace the timing chain of the Opel Mokka 1.6 CDTI. First, we open the hood of the car …

Vauxhall Mokka
(2012-2019 /
Mokka A)
In this short video, see how to remove and replace the engine air filter on the Opel Mokka CDTI, as well as on the petrol version. First, open the bo…
Other guides you may be interested in
|
How to Remove the Rear Seat of a Hyundai Tucson?
To remove the rear seat of a Hyundai Tucson, follow these steps. Start by moving the front seats to their most forward position to gain space. Next, locate the release lever on the underside of the rear seat, near the floor. Press this lever down while pulling the seat upwards to unlock it from the anchor pins. Once unlocked, tilt the seat upwards and forwards to remove it from its position. Repeat this process for both sides of the rear seat. Be careful of any electrical cables or components that may be connected to the seat during removal. Once the rear seat is removed, the disassembly is complete. by ScegliAuto More videos
|
|
For advertising on this site Write to info@scegliauto.com
ScegliAuto is not responsible for any inaccuracy of the data in the lists. To report any inaccuracy or your business (if you own the business in question), please write to info@scegliauto.com
Number of seconds to generate the page: 0.023
(c) ScegliAuto 2026 - info@scegliauto.com - Privacy policy VAT number: IT01247470535 |
