
|
Do it yourself
| |||
| ||||


How to replace the glow plugs of the Opel Astra J.
Model: Vauxhall Astra
Astra J
- Years 2009-2016
Let's see in this video how to replace the glow plugs of the Opel Astra J: we open the hood and remove the cover of the engine block—it's necessary to take off the oil cap—where we will see the glow plug housing. We put the oil cap back on and then disconnect the negative terminal of the battery. The glow plugs are an extremely delicate component, so they must be handled very carefully to avoid breaking them inside the engine. If we decide to change them, a few days beforehand, we should apply some penetrating oil, then remove them when the engine is warm, spraying with freeze spray to avoid burning ourselves, and in any case, we should do everything very cautiously: there is little space. We can find a kit of 4 glow plugs, for example, on eBay with the code 252933137014 for the price of 32.99 euros, with free shipping. We position the new glow plug, checking the package for the recommended torque specification. We put the rubber cover back in place and then also replace the engine cover. We reconnect the battery, and the job is done.
Posted on 25 December 2025 by ScegliAuto
Video tutorial
Related tutorials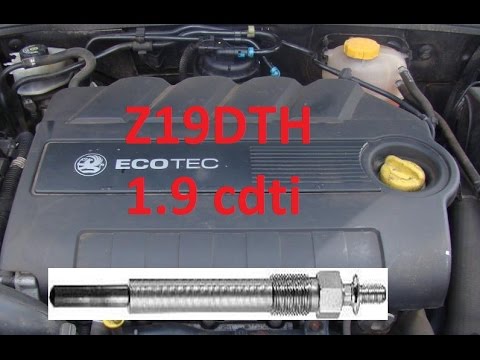
Vauxhall Astra
(2004-2010 /
Astra H)
How to replace the glow plugs on an Opel Astra Cdti? Let's see the disassembly. Lift the bonnet to access the engine bay, and remove the soundproofin…
Vauxhall Astra
(2009-2016 /
Astra J)
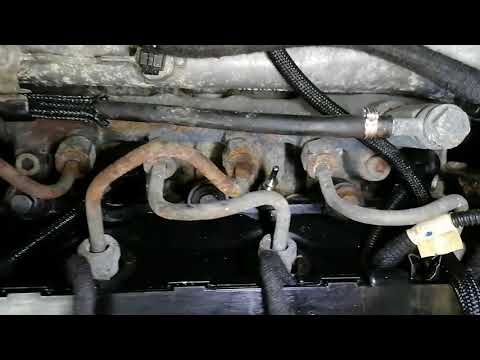
As shown in this tutorial, replacing the glow plugs in the Opel Astra 1.7 CDTI is an extremely simple and quick operation. First, open the bonnet, th…
Vauxhall Astra
(2009-2016 /
Astra J)
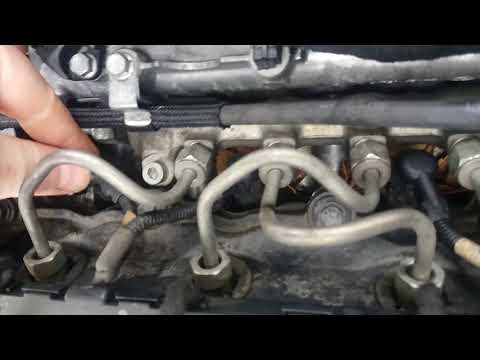
Replacing the glow plugs on the Opel Astra 1.7 is a straightforward task. First, ensure the engine is completely cold for safety. Open the bonnet, th…
Other guides you may be interested in
|
How to Open the Bonnet on the Lancia Y
To open the bonnet on this vehicle, follow these simple instructions: first, open the driver's door and locate the lever positioned just below the dashboard, marked with an image of the vehicle with the bonnet open. Pull this lever towards you until you hear a "click" indicating the bonnet is released. Next, exit the cabin and stand in front of the bonnet to disengage the safety catch and complete the opening. To do this, slightly lift the bonnet, locate the yellow lever underneath, and pull it to the left to fully release and open the bonnet. by ScegliAuto More videos
|

|
For advertising on this site Write to info@scegliauto.com
ScegliAuto is not responsible for any inaccuracy of the data in the lists. To report any inaccuracy or your business (if you own the business in question), please write to info@scegliauto.com
Number of seconds to generate the page: 0.300
(c) ScegliAuto 2026 - info@scegliauto.com - Privacy policy VAT number: IT01247470535 |
