
|
Do it yourself
| |||
| ||||


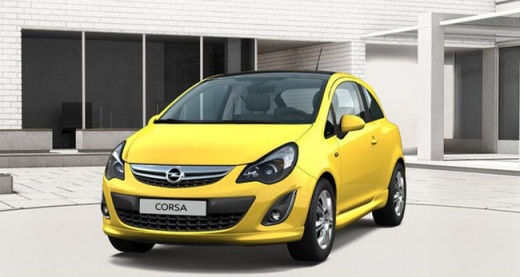
Replacing the Canister Valve on an Opel Corsa D (Error P0171)
Model: Vauxhall Corsa
Corsa D
- Years:
2006, 2007, 2008, 2009, 2010, 2011, 2012, 2013, 2014
Video tutorial
The P0171 error (lean mixture) on an Opel Corsa D can have several causes: air leaks, dirty throttle body, lambda sensor, or faulty canister valve. After cleaning the throttle body and checking the fuel pressure, the persistent fault led to checking the canister valve. The valve is located near the throttle body. To test it, disconnect the hose and blow into it: if air passes even when the valve is closed, the diaphragm is broken and needs to be replaced. The replacement is straightforward: unscrew the two Torx T20 screws, disconnect the connector and the hose, and fit the new valve. You can find the new valve on eBay with code 198347088957 for £26.99 + £2.99 shipping. The P0171 code is generic and requires accurate diagnosis. Before replacing components, check with a multimeter or test lamp that the valve is receiving power. After replacement, clear the error and test the vehicle.
Posted on 27 July 2026 by ScegliAuto
Related tutorials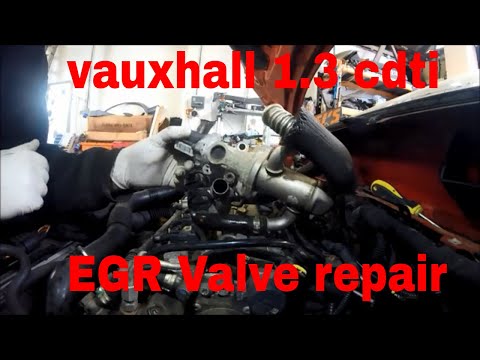
Vauxhall Corsa
(2006-2014 /
Corsa D)
To replace the EGR valve on an Opel Corsa, open the bonnet to access the components in the engine bay. The valve is located at the rear of the engine…

Vauxhall Corsa
(2000-2006 /
Corsa C)
In order to replace the EGR valve of the Opel Corsa, you will need to open the hood to access the components inside the engine compartment: here you …

Vauxhall Corsa
(2006-2014 /
Corsa D)
In today's video, we will see the main steps to remove and replace the EGR valve of the Opel Corsa, following the instructions below. First, open the…
Other guides you may be interested in
|
Frequently Asked QuestionsHow to Remove the Rear Seat of a Hyundai Tucson?
To remove the rear seat of a Hyundai Tucson, follow these steps. Start by moving the front seats to their most forward position to gain space. Next, locate the release lever on the underside of the rear seat, near the floor. Press this lever down while pulling the seat upwards to unlock it from the anchor pins. Once unlocked, tilt the seat upwards and forwards to remove it from its position. Repeat this process for both sides of the rear seat. Be careful of any electrical cables or components that may be connected to the seat during removal. Once the rear seat is removed, the disassembly is complete. by ScegliAuto More videos
|
|
For advertising on this site Write to info@scegliauto.com
ScegliAuto is not responsible for any inaccuracy of the data in the lists. To report any inaccuracy or your business (if you own the business in question), please write to info@scegliauto.com
Number of seconds to generate the page: 0.033
(c) ScegliAuto 2026 - info@scegliauto.com - Privacy policy VAT number: IT01247470535 |
