
|
Do it yourself
| |||
| ||||


LED Backlighting for Console Clock
Model: Vauxhall Astra
Astra G
- Years 1998-2006
Only carry out this "modification" if you have a good understanding of electronics and some familiarity with small electrical repairs. First, remove the display at the top of the centre console until you access the two bulbs (T5 model): the power supply for the LED battery will be taken from these, so it is essential to identify the polarity.
Prepare a rectangular support and drill holes of appropriate diameter to insert the LEDs, which will be connected in series, applying a resistor to the positive terminal (the resistor must be calculated based on the supply voltage, the LED operating voltage, and the LED operating current). Solder everything and insulate it carefully; apply aluminium foil to the support to make it reflective; check its operation before installing it, and finally, fit it behind the display.
Updated on 6 February 2026 by ScegliAuto
Video tutorial
Related tutorials
Vauxhall Astra
(1998-2006 /
Astra G)
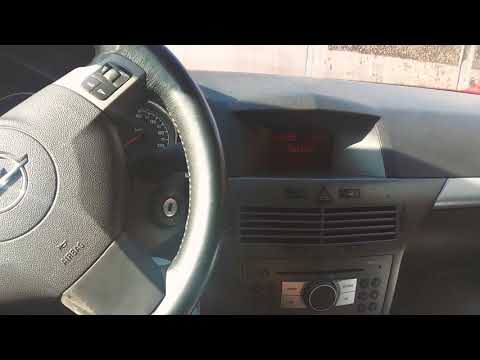
To adjust the clock of the Opel Astra, you will need to turn on the instrument panel by inserting the ignition key into the corresponding slot: once …
Vauxhall Astra
(2004-2010 /
Astra H)
In this tutorial we can see how to adjust the time in the Opel Astra, a very simple and quick operation, to be carried out for example after replacin…

Vauxhall Astra
(2009-2016 /
Astra J)
Error code 24 on the instrument panel of the Opel Astra model J indicates a malfunction of the number plate light bulb. To reset the error code, it i…
Other guides you may be interested in
|
Frequently Asked QuestionsHow to reset the tyre pressure warning light on the Suzuki Jimny?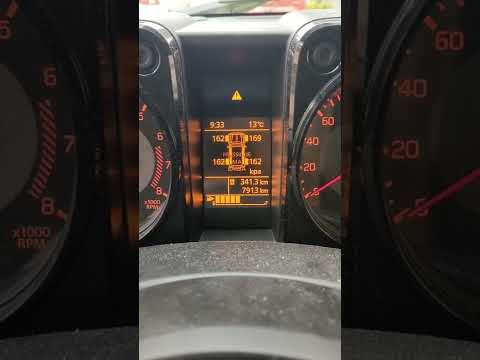
To reset the tyre pressure warning light on the Suzuki Jimny, first inflate the tyres to the pressure value indicated on the corresponding sticker: this is located at the bottom of the driver's door pillar. Once the tyres are inflated, insert the ignition key and turn on the instrument panel: select the screen that indicates the tyre pressures, checking that the values change. After a few seconds, the tyre pressure warning light will automatically turn off. by ScegliAuto More videos
|
|
For advertising on this site Write to info@scegliauto.com
ScegliAuto is not responsible for any inaccuracy of the data in the lists. To report any inaccuracy or your business (if you own the business in question), please write to info@scegliauto.com
Number of seconds to generate the page: 0.323
(c) ScegliAuto 2026 - info@scegliauto.com - Privacy policy VAT number: IT01247470535 |
