
|
Do it yourself
| |||
| ||||


Cylinder Head Resurfacing and Engine Gasket Kit Replacement
Model: Vauxhall Astra
Astra G
- Years 1998-2006
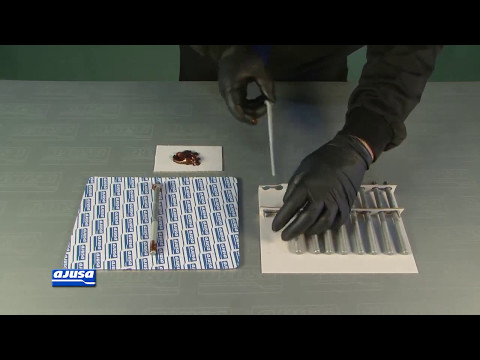
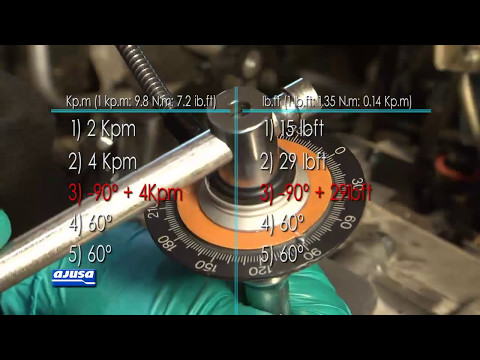
After resurfacing the cylinder head, check the flatness of the surface using a straight edge and a feeler gauge; replace the valve guide seals using a valve spring compressor to remove the valves and generously lubricate the new seals before inserting them; fit the thermostat and its connector; install the exhaust manifold with a new gasket; repeat the flatness check on the cylinder block; re-tap the threads of the cylinder head mounting holes, ensuring no debris falls into the cylinders; apply the new cylinder head gasket and the cylinder head itself; insert the new rocker arm pins, the new camshaft with the relevant oil seals, and finally seal the rocker cover with sealant. Use a new stud kit to secure the cylinder head and align the timing marks to fit the timing belt.
Updated on 12 February 2026 by ScegliAuto
Video tutorial
Related tutorials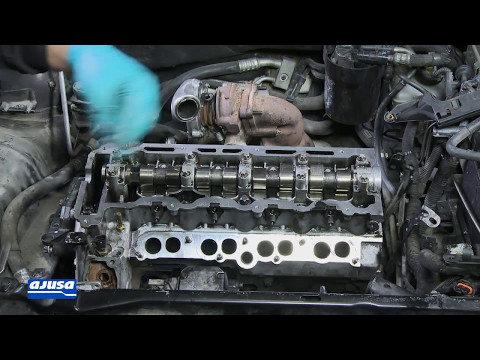
Vauxhall Astra
(1998-2006 /
Astra G)
The following guide shows how to replace the cylinder head gasket. These components prevent the vehicle from overheating, thereby avoiding damage to …
Vauxhall Astra
(1998-2006 /
Astra G)
When performing a repair that requires the removal of the cylinder head, it is important to use a new bolt kit for securing it, as the continuous the…
Vauxhall Astra
(1998-2006 /
Astra G)
If you have issues with engine temperature, you need to replace the cylinder head gasket. This task requires disassembling many engine components, an…
Other guides you may be interested in
|
How to Bleed the Clutch on a Renault Clio?
To bleed the clutch on a Renault Clio, open the bonnet to access the components located in the engine bay: here, you will need to undo the screws that secure the battery in its housing, the intake manifold, and the coolant reservoir. This will allow you to locate the pipe through which the brake fluid flows: by inserting the other end of the pipe into a container, you can press the clutch pedal to expel all the fluid until it fills the container. by ScegliAuto More videos
|
|
For advertising on this site Write to info@scegliauto.com
ScegliAuto is not responsible for any inaccuracy of the data in the lists. To report any inaccuracy or your business (if you own the business in question), please write to info@scegliauto.com
Number of seconds to generate the page: 0.389
(c) ScegliAuto 2026 - info@scegliauto.com - Privacy policy VAT number: IT01247470535 |
