
|
Do it yourself
| |||
| ||||


How to Replace the Timing Belt on the Opel Insignia 2.0 Mk1
Model: Vauxhall Insigna
Insigna A, MK 1
- Years 2008-2017
This guide shows how to replace the timing belt on the Opel Insignia Mk1 2.0. The first step is to safely lift the vehicle and remove the right wheel. Remove the fastening clips from the wheel arch and move it aside to access the pulleys. Disconnect the battery, remove the air intake sensor, and take out the engine air filter box. Remove the bolts from the timing cover and place a jack under the engine before removing the mount. At this point, use a spanner to loosen the belt tensioner and remove the belt. Remove the pulley under the engine mount and check the condition of the ball bearing. Remove the two plugs from the locking holes on top of the camshaft and insert the locking pins. Using the lower pulley, rotate the engine counterclockwise until it locks. Remove the four bolts from the pulley and insert the second engine block. Remove the base of the engine mount. Loosen the tensioner of the second belt, insert the third block, and remove the piece. Remove the second tensioner and the idler pulley. Remove the second engine block to install the new belt and replace the old water pump; clean the area of dirt. Install the second tensioner, the idler pulley, and fit the second belt. Remove the engine blocks, check the correct movement of the engine, and reassemble everything in position.
Updated on 16 July 2026 by ScegliAuto
Video tutorial
Related tutorials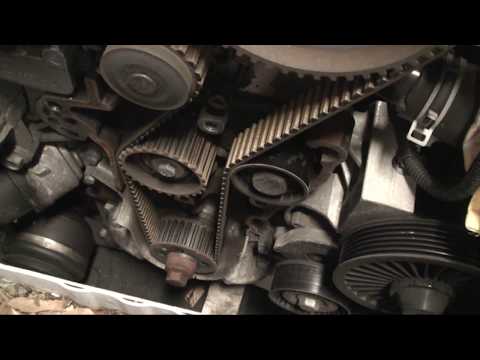
Vauxhall Insigna
(2008-2017 /
Insigna A, MK 1)
Here are the instructions for removing and replacing the timing belt on the Opel Insignia 2.0 CDTI. First, open the bonnet and remove the timing belt…

Vauxhall Insigna
(2008-2017 /
Insigna A, MK 1)
In this guide we will see the steps that will allow us to disassemble and replace the timing belt of the Opel Insignia 2.0 CDTI. First of all, we ope…
Vauxhall Insigna
(2008-2017 /
Insigna A, MK 1)
To replace the timing belt on the Opel Insignia, you need to remove the engine from its housing so that the front protective panel can be taken off. …
Other guides you may be interested in
|
How to Connect the Cables to the Battery of the Citroen Xsara Picasso?
In this tutorial, you will see how to connect the cables to the battery of the Citroen Xsara Picasso, useful if you need to recharge it or perform an emergency start. First, ensure the key is not inserted, then open the bonnet and move to the front of the left headlamp. Next, locate the bolt just behind the filter box and connect the positive terminal clamp to it. Now you can connect the negative terminal to any point on the chassis, such as the indicated point. Once the operation is complete, ensure you disconnect the negative first and then the positive. by ScegliAuto More videos
|

|
For advertising on this site Write to info@scegliauto.com
ScegliAuto is not responsible for any inaccuracy of the data in the lists. To report any inaccuracy or your business (if you own the business in question), please write to info@scegliauto.com
Number of seconds to generate the page: 0.199
(c) ScegliAuto 2026 - info@scegliauto.com - Privacy policy VAT number: IT01247470535 |
