
|
Do it yourself
| |||
| ||||


How to Replace the Engine Speed Sensor in an Opel Astra
Model: Vauxhall Astra
Astra G
- Years 1998-2006
Replacing the speed sensor on an Opel Astra G requires some technical skills and the right tools. Here’s a general guide on how to proceed: Locate the sensor: The speed sensor is usually found on the transmission or gearbox of the Opel Astra G. You may need to lift the vehicle or remove some components to access the sensor. Disconnect the connector: Once you have located the sensor, disconnect the electrical connector attached to it. You may need to press a small locking pin or lift a tab to release it. Remove the sensor: The speed sensor may be secured with a screw or bolt. Use the appropriate tool to remove the screw or bolt and take the sensor out of its position. Install the new sensor: Take the new speed sensor and position it in the same spot from which you removed the old sensor. Ensure it is correctly aligned, then tighten the screw or bolt to secure it firmly. Reconnect the connector: Reconnect the electrical connector to the new speed sensor. Make sure it fits properly and is locked in place. Verify: After installing the new speed sensor, test its operation by checking if the speed data is correctly displayed on the dashboard or the vehicle's onboard system.
Updated on 9 September 2026 by ScegliAuto
Video tutorial
Related tutorials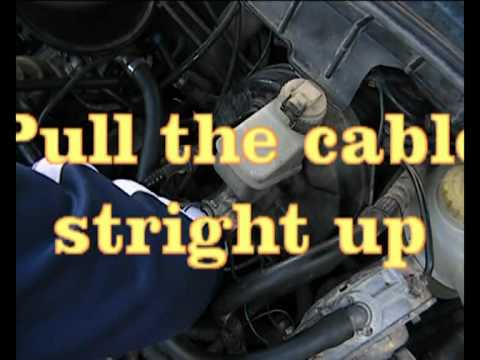
Vauxhall Astra
(1991-1998 /
Astra F)
Learn how to remove the RPM sensor from the crankshaft on an Opel Astra: lift the front bonnet and secure it with the prop rod. Locate the RPM sensor…
Vauxhall Astra
(2009-2016 /
Astra J)
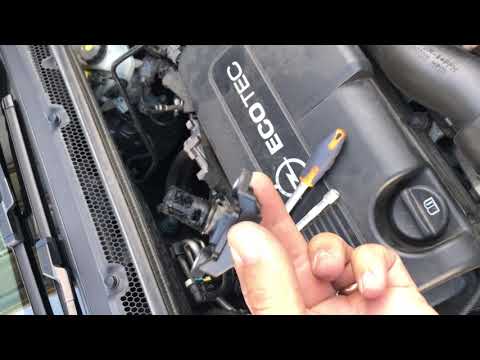
Let's see how to replace the crankshaft sensor mounted on an Opel Astra: lift the front bonnet and secure it with the provided prop. Locate the crank…

Vauxhall Astra
(2004-2010 /
Astra H)
How do you replace the crankshaft sensor on an Opel Astra? Lift the front bonnet and secure it with the provided prop. Locate the crankshaft sensor (…
Other guides you may be interested in
|
How to Open the Fuel Filler Cap of the 2020 Hyundai Tucson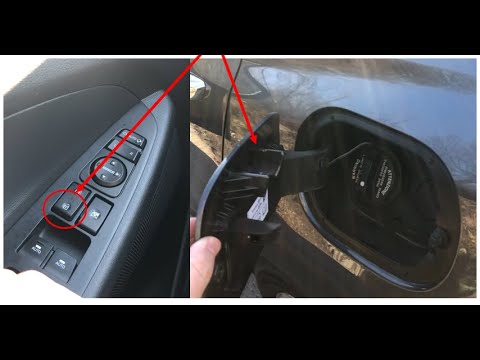
The 2020 Hyundai Tucson has two methods for opening the fuel filler flap. Both methods can only be used if the key has been removed from the ignition and the engine is off. The first method involves removing the key from the ignition and keeping all the car locks open, then go to the flap and press it. This will open the flap. The second method is to stay in the car, remove the key from the ignition, and then press the fuel filler release button located on the left door. by ScegliAuto More videos
|
|
For advertising on this site Write to info@scegliauto.com
ScegliAuto is not responsible for any inaccuracy of the data in the lists. To report any inaccuracy or your business (if you own the business in question), please write to info@scegliauto.com
Number of seconds to generate the page: 0.733
(c) ScegliAuto 2026 - info@scegliauto.com - Privacy policy VAT number: IT01247470535 |
