
|
Do it yourself
| |||
| ||||



How to Change the Glow Plugs on the Opel Astra
Model: Vauxhall Astra
Astra H
- Years:
2004, 2005, 2006, 2007, 2008, 2009, 2010
Video tutorial
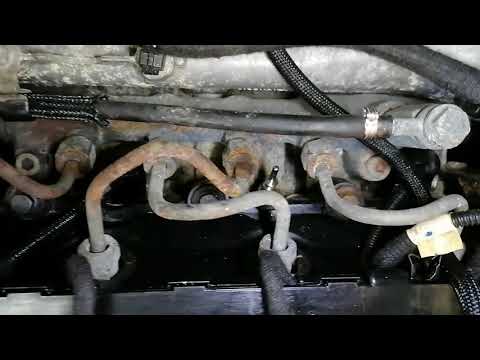
The function of the glow plugs is to preheat the combustion chamber, creating the right thermodynamic conditions for igniting the mixture, especially during the first cold start; if one of them is damaged, it is recommended to replace all four; start by removing the plastic cover on the engine and then disconnect one terminal of the battery; at this point, disconnect the fuel pipes and, before unscrewing the glow plugs, it is advisable to blow into their housing to prevent dirt residue from entering the cylinders; then unscrew the glow plugs with the appropriate tool, taking care not to break them (repeated thermal cycles can seize the glow plugs in their respective seats) and then install the new ones without exceeding the tightening torque.
Updated on 23 February 2026 by ScegliAuto
Related tutorials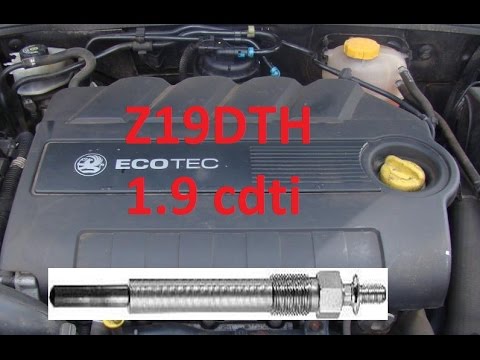
Vauxhall Astra
(2004-2010 /
Astra H)
How to replace the glow plugs on an Opel Astra Cdti? Let's see the disassembly. Lift the bonnet to access the engine bay, and remove the soundproofin…
Vauxhall Astra
(2009-2016 /
Astra J)
As shown in this tutorial, replacing the glow plugs in the Opel Astra 1.7 CDTI is an extremely simple and quick operation. First, open the bonnet, th…

Vauxhall Astra
(2015-2022 /
Astra K)
This tutorial demonstrates how to replace the glow plugs in an Opel Astra K, a very simple operation. First, wait for the engine to cool completely, …
Other guides you may be interested in
|
How to Remove the Rear Seat of a Hyundai Tucson?
To remove the rear seat of a Hyundai Tucson, follow these steps. Start by moving the front seats to their most forward position to gain space. Next, locate the release lever on the underside of the rear seat, near the floor. Press this lever down while pulling the seat upwards to unlock it from the anchor pins. Once unlocked, tilt the seat upwards and forwards to remove it from its position. Repeat this process for both sides of the rear seat. Be careful of any electrical cables or components that may be connected to the seat during removal. Once the rear seat is removed, the disassembly is complete. by ScegliAuto More videos
|
|
For advertising on this site Write to info@scegliauto.com
ScegliAuto is not responsible for any inaccuracy of the data in the lists. To report any inaccuracy or your business (if you own the business in question), please write to info@scegliauto.com
Number of seconds to generate the page: 0.060
(c) ScegliAuto 2026 - info@scegliauto.com - Privacy policy VAT number: IT01247470535 |
