
|
Do it yourself
| |||
| ||||


How to replace the key shell of the Peugeot 308
Model: Peugeot 308
T7, MK 1
- Years 2007-2014
Today's instructions will allow us to disassemble and replace the shell of the key for the Peugeot 308, in simple steps. First, we take our remote control and start levering on the side slit of the remote control, in order to open it in two parts; this way we will have access to the electronic board and the battery, as shown in the video. Now we remove and replace the battery with the new one, of the correct type and having the same code; insert it in the correct direction and reassemble the remote control, making sure to reassemble the components in order.
Posted on 31 October 2025 by ScegliAuto
Video tutorial
Related tutorials
Peugeot 308
(2021-2026 /
P5, MK 3)
To replace the battery of a Peugeot 308 key, start by locating the small hole on the side of the key. Using a flathead screwdriver or a similar tool,…
Peugeot 308
(2007-2014 /
T7, MK 1)
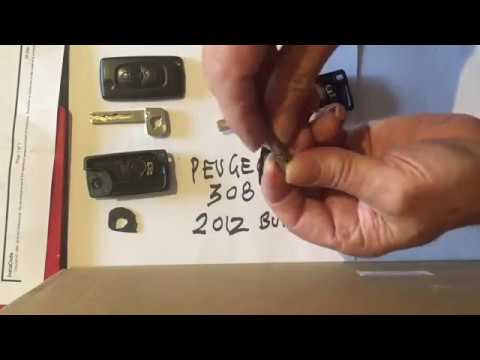
To replace the key shell of the Peugeot 308, lift the emergency key by pressing the designated button. Next, open the remote by levering in the groov…
Peugeot 308
(2007-2014 /
T7, MK 1)
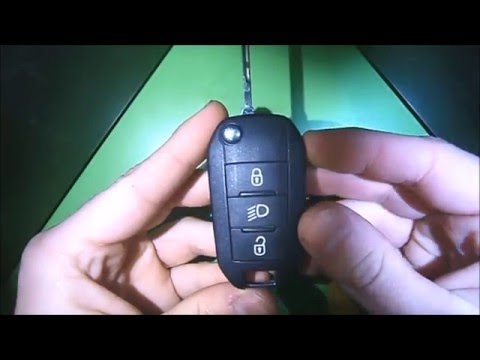
How do we change the battery of the key fob for a Peugeot 308? Let's see in this detailed video how to do it: take your key fob and use a screwdriver…
Other guides you may be interested in
|
Frequently Asked QuestionsHow to Remove the Front Bumper of the Citroën C4 Picasso?
To remove the front bumper of the Citroën C4 Picasso, you need to take out all the rivets and screws that secure the piece to its housing: these screws are located inside the wheel arches of the front wheels and at the central upper part of the bumper itself. Once all these fastening elements have been removed, you can detach the bumper from its seat by disconnecting the connectors inside and then insert the new replacement part. The new part can then be secured and connected properly, ensuring it is correctly fixed in place. by ScegliAuto More videos
|
|
For advertising on this site Write to info@scegliauto.com
ScegliAuto is not responsible for any inaccuracy of the data in the lists. To report any inaccuracy or your business (if you own the business in question), please write to info@scegliauto.com
Number of seconds to generate the page: 0.158
(c) ScegliAuto 2026 - info@scegliauto.com - Privacy policy VAT number: IT01247470535 |
