
|
Do it yourself
| |||
| ||||


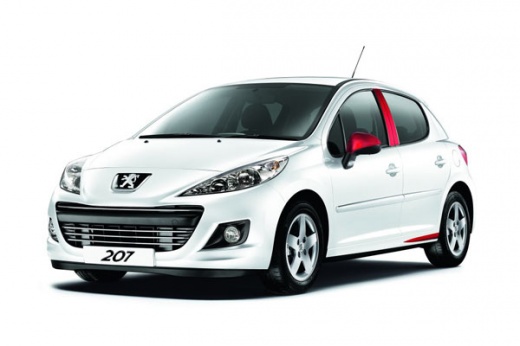
How to Polish the Headlights of a Peugeot 207
Model: Peugeot 207
MK 1
- Years:
2006, 2007, 2008, 2009, 2010, 2011, 2012, 2013, 2014, 2015
Video tutorial
Today, you will learn how to polish the headlights of a Peugeot 207 independently and at a low cost. Open the front bonnet and apply masking tape around the headlight to avoid damaging the bodywork. Use fine sandpaper (800 grit) to clean the first part of the headlight. While sanding, spray water. After the initial cleaning, use 1500 grit sandpaper. After a second cleaning, switch to 2500 grit sandpaper. Throughout the procedure, continue to spray water to avoid scratching the glass. Use a 3 mm polishing disc to smooth the entire surface of the headlight. Wipe with a microfiber cloth to finish. Perform the same procedure for the left front headlight.
Posted on 25 May 2026 by ScegliAuto
Related tutorials
Peugeot 207
(2006-2015 /
MK 1)
In this video tutorial, you will find instructions to restore the clarity of the front headlights on the Peugeot 207. First, clean the headlight thor…
Peugeot 207
(2006-2015 /
MK 1)
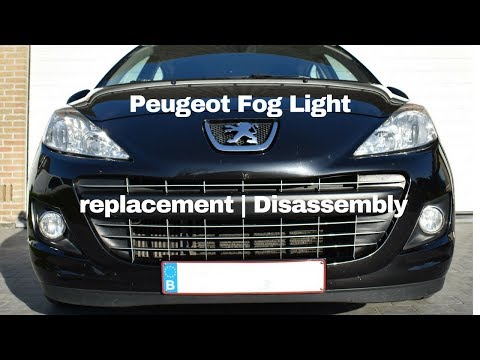
In this video tutorial, you will see how to remove the front fog lights on a Peugeot 207 in simple and quick steps. First, lift the vehicle on the af…

Peugeot 207
(2006-2015 /
MK 1)
Today, let's look at the procedure for removing and replacing the front bumper of a Peugeot 207. First, open the bonnet and start unscrewing all the …
Other guides you may be interested in
|
How to Remove the Rear Seat of a Hyundai Tucson?
To remove the rear seat of a Hyundai Tucson, follow these steps. Start by moving the front seats to their most forward position to gain space. Next, locate the release lever on the underside of the rear seat, near the floor. Press this lever down while pulling the seat upwards to unlock it from the anchor pins. Once unlocked, tilt the seat upwards and forwards to remove it from its position. Repeat this process for both sides of the rear seat. Be careful of any electrical cables or components that may be connected to the seat during removal. Once the rear seat is removed, the disassembly is complete. by ScegliAuto More videos
|
|
For advertising on this site Write to info@scegliauto.com
ScegliAuto is not responsible for any inaccuracy of the data in the lists. To report any inaccuracy or your business (if you own the business in question), please write to info@scegliauto.com
Number of seconds to generate the page: 0.036
(c) ScegliAuto 2026 - info@scegliauto.com - Privacy policy VAT number: IT01247470535 |
