
|
Do it yourself
| |||
| ||||


How to replace the external rearview mirror of the RAM 1500
Model: RAM 1500
MK 5, DT
- Years 2019-2026
Let's briefly look at the instructions useful for disassembling and replacing the external rearview mirror of the RAM 1500. First, we open the front door and start disassembling and removing the door panel; to do this, we unscrew the fixing screws found on the sides of it, then disconnect the electrical connector found on the back, as shown in the video. At this point, we unscrew the additional screws of the mirror, removing it from the outside along with the wiring; we then install and reassemble the new external rearview mirror, applying the reverse procedure!
Posted on 20 March 2024 by ScegliAuto
Video tutorial
Related tutorials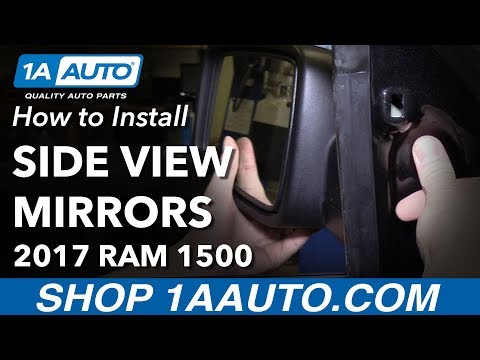
RAM 1500
(2009-2019 /
DS, MK 4, DJ)
In order to replace the Dodge Ram 1500 external rearview mirror, you must first remove the triangular plastic cover that is located in correspondence…
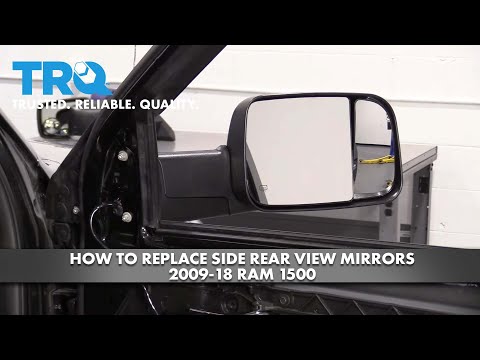
RAM 1500
(2009-2019 /
DS, MK 4, DJ)
In order to replace the outside rearview mirror of the Ram 1500 you have to unscrew the bolts that secure the mirror from the inside. To unscrew thes…
RAM 1500
(2009-2019 /
DS, MK 4, DJ)
Let's see in this short video how to remove and replace the exterior rearview mirror of our RAM 1500 fourth series, in simple steps. First of all, we…
Other guides you may be interested in
|
How to Remove the Front Headlight of a Mercedes S-Class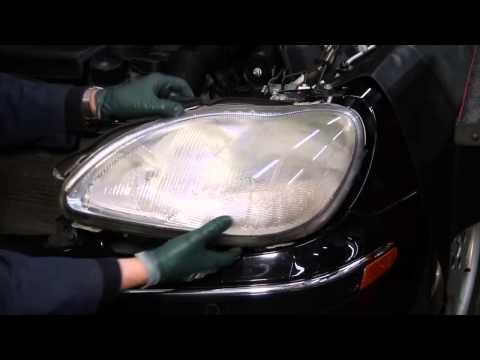
Want to remove the front headlight of a Mercedes S-Class? Let’s see how to proceed with the disassembly in the instructional video. Open the hood by pulling the hood release lever and secure it. Remove the retaining pins on the headlight bar using a socket wrench or battery-powered screwdriver. At this point, you will find additional pins on the lower side of the headlight; unscrew them from the metal brackets. Disconnect the bulb holders from the headlight and remove the headlight from the vehicle body. Install the new headlight with new bulbs if damaged (always use the correct type and size) and insert the headlight into its housing. Finally, tighten the pins on the headlight and test the proper functioning of the lights. by ScegliAuto More videos
|

|
For advertising on this site Write to info@scegliauto.com
ScegliAuto is not responsible for any inaccuracy of the data in the lists. To report any inaccuracy or your business (if you own the business in question), please write to info@scegliauto.com
Number of seconds to generate the page: 0.042
(c) ScegliAuto 2026 - info@scegliauto.com - Privacy policy VAT number: IT01247470535 |