
|
Do it yourself
| |||
| ||||


How to disassemble the front headlight of a Renault Laguna
Model: Renault Laguna
MK 2, Laguna 2, X74
- Years 2001-2007
The removal of a front headlight of a Renault Laguna 2 car requires some time because it is fixed behind the bumper. You will need a ratchet wrench, a torx screwdriver, and a Phillips screwdriver. Start by removing the screws in the wheel arch as shown in the video, then remove the lower bumper screws, you will find them under the car attached to the frame. Proceed to remove the upper bumper screws by opening the hood and unscrewing the nuts above the radiator grille. Unhook the bumper by gently pulling it forward. At this point, you will have access to the screws that secure the headlight; unscrew the nuts in question, disconnect the electrical connector, and remove the headlight.
Posted on 5 September 2025 by ScegliAuto
Video tutorial
Related tutorials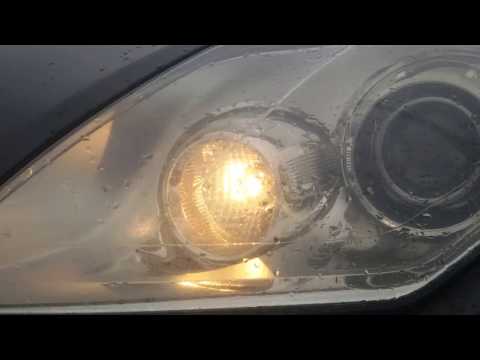
Renault Laguna
(2001-2007 /
MK 2, Laguna 2, X74)
Want to remove the front bulbs on a Renault Laguna? Lift the front bonnet and remove the cover cap located at the back of the headlamp. Locate the in…
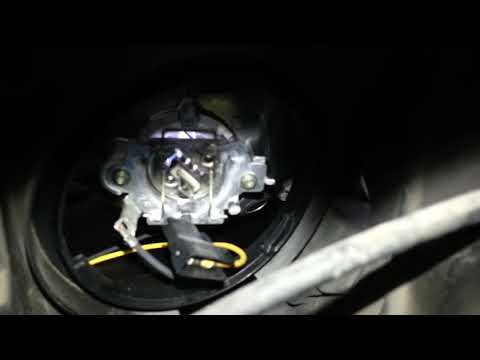
Renault Laguna
(2001-2007 /
MK 2, Laguna 2, X74)
As shown in this tutorial, replacing the dipped beam bulbs in a Renault Laguna is an extremely simple and quick operation. Before proceeding, ensure …

Renault Laguna
(2007-2015 /
MK 3, Laguna III, MK III, X91, Laguna 3)
To replace the headlight bulb of the Renault Laguna, you need to open the hood to access the components inside the engine compartment: here you can r…
Other guides you may be interested in
|
How to Check the Oil Level on a Jeep Renegade?
To check the oil level on a Jeep Renegade, you need to open the bonnet to access the components inside the engine bay: on the lower left side of the engine block, you will find the dipstick for checking the level. This should be pulled out and thoroughly cleaned with a cloth: once cleaned, reinsert it back into its tube and pull it out immediately after. This way, you can check that the oil mark is between the minimum and maximum levels; finally, you can place the dipstick back in its tube. by ScegliAuto More videos
|
|
For advertising on this site Write to info@scegliauto.com
ScegliAuto is not responsible for any inaccuracy of the data in the lists. To report any inaccuracy or your business (if you own the business in question), please write to info@scegliauto.com
Number of seconds to generate the page: 0.134
(c) ScegliAuto 2026 - info@scegliauto.com - Privacy policy VAT number: IT01247470535 |
