
|
Do it yourself
| |||
| ||||


How to Replace the Timing Belt on a Renault Kangoo 1.5 dCi
Model: Renault Kangoo
MK 2, FC, FW
- Years 2007-2021
In this video, we will see how to change the timing belt on a Renault Kangoo 1.5 dCi: start by disconnecting the negative battery terminal, then remove the auxiliary belt (for the alternator and air conditioning), take off the plastic covers above the timing belt, and loosen the crankshaft pulley. Lock the shafts using reference points (marks on the camshaft and crankshaft pulley): insert locking tools to prevent accidental rotation. Remove the old belt: loosen the tensioner and slide off the belt, then fit the new one, following the correct routing. Tension the new belt with the tensioner (use a torque wrench for the specified torque). Reassemble all components in reverse order. Manually turn the engine with a ratchet for 2-3 complete turns, checking that the timing marks are still aligned. Start the engine and check for abnormal noises.
Posted on 21 February 2026 by ScegliAuto
Video tutorial
Related tutorials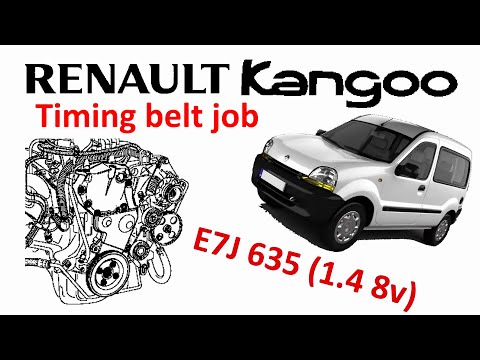
Renault Kangoo
(1997-2008 /
MK 1, KC, KW)
To replace the timing belt on a Renault Kangoo, open the bonnet to access the left side of the engine block where the belt is located. Once identifie…

Renault Kangoo
(1997-2008 /
MK 1, KC, KW)
To replace the timing belt of the Renault Kangoo, you need to lift the vehicle in order to completely remove the left front wheel: then you will need…
Renault Kangoo
(1997-2008 /
MK 1, KC, KW)
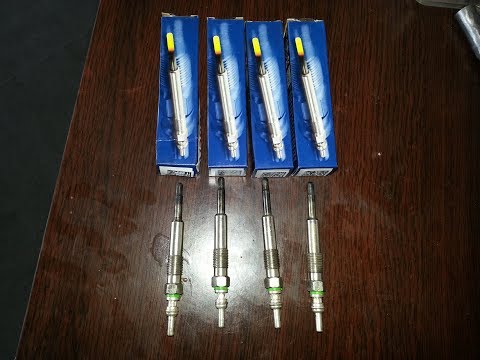
In this video, you will see how to remove and replace the glow plugs on a Renault Kangoo 1.5 DCI, as well as on other models from the manufacturer. F…
Other guides you may be interested in
|
How to Check the Oil Level on a Jeep Renegade?
To check the oil level on a Jeep Renegade, you need to open the bonnet to access the components inside the engine bay: on the lower left side of the engine block, you will find the dipstick for checking the level. This should be pulled out and thoroughly cleaned with a cloth: once cleaned, reinsert it back into its tube and pull it out immediately after. This way, you can check that the oil mark is between the minimum and maximum levels; finally, you can place the dipstick back in its tube. by ScegliAuto More videos
|
|
For advertising on this site Write to info@scegliauto.com
ScegliAuto is not responsible for any inaccuracy of the data in the lists. To report any inaccuracy or your business (if you own the business in question), please write to info@scegliauto.com
Number of seconds to generate the page: 0.110
(c) ScegliAuto 2026 - info@scegliauto.com - Privacy policy VAT number: IT01247470535 |
