
|
Do it yourself
| |||
| ||||


How to Change the Auxiliary Belt on a Renault Twingo MK1
Model: Renault Twingo
Twingo 1
- Years 1993-2007
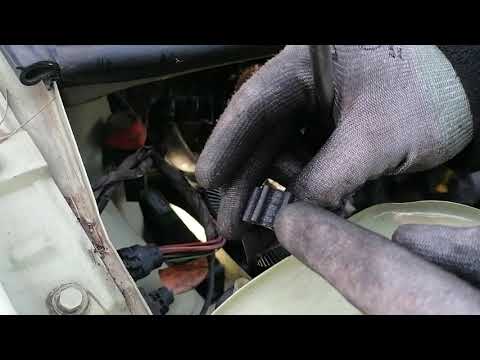
In this video, we will see how to replace the auxiliary belt on a Renault Twingo MK1: the engine must be cold, and the handbrake engaged. Lift the car and keep it stable on axle stands. It is advisable to remove the A/C belt (using a #21 socket to lock it and a HEX H7 socket to unscrew the inner nut). Rotate the tensioner, then unclip the air conditioning belt. Now loosen the upper nut of the alternator with a #13 socket and a #16 spanner. Loosen the lower nut of the alternator (same procedure); push the alternator towards the engine to slacken the belt; remove the auxiliary belt from the pulleys. Take this opportunity to check the condition of the tensioner rollers; if they have play or squeak, replace them. Fit the new belt following the correct routing, making sure it passes last over the alternator pulley. To tension the belt properly, use a crowbar, then tighten the nuts by hand. Refit the air conditioning belt and tighten its nut: the upper to 20 Nm; the lower to 35 Nm. Start the engine and check that the belt runs smoothly.
Posted on 3 April 2026 by ScegliAuto
Video tutorial
Related tutorials
Renault Twingo
(1993-2007 /
Twingo 1)
Today's information will allow us to dismantle and replace the timing belt of the Renault Twingo 1.2. First, we lift the vehicle and begin to dismant…

Renault Twingo
(2014-2024 /
Twingo 3, Twingo III)
To change the bulb on a Renault Twingo III, you need a new LED bulb of type W5W or T10 5W (actually, two). Open the rear hatch, as the bulb holders a…
Renault Twingo
(1993-2007 /
Twingo 1)
Below are the main instructions to remove and replace the timing belt on a Renault Twingo 1.2. First, raise the vehicle and remove the right front wh…
Other guides you may be interested in
|
How to Check the Oil Level on a Jeep Renegade?
To check the oil level on a Jeep Renegade, you need to open the bonnet to access the components inside the engine bay: on the lower left side of the engine block, you will find the dipstick for checking the level. This should be pulled out and thoroughly cleaned with a cloth: once cleaned, reinsert it back into its tube and pull it out immediately after. This way, you can check that the oil mark is between the minimum and maximum levels; finally, you can place the dipstick back in its tube. by ScegliAuto More videos
|
|
For advertising on this site Write to info@scegliauto.com
ScegliAuto is not responsible for any inaccuracy of the data in the lists. To report any inaccuracy or your business (if you own the business in question), please write to info@scegliauto.com
Number of seconds to generate the page: 0.154
(c) ScegliAuto 2026 - info@scegliauto.com - Privacy policy VAT number: IT01247470535 |
