
|
Do it yourself
| |||
| ||||


Resetting the Service Light on the Renault Laguna
Model: Renault Laguna
MK 3, Laguna III, MK III, X91, Laguna 3
- Years 2007-2015
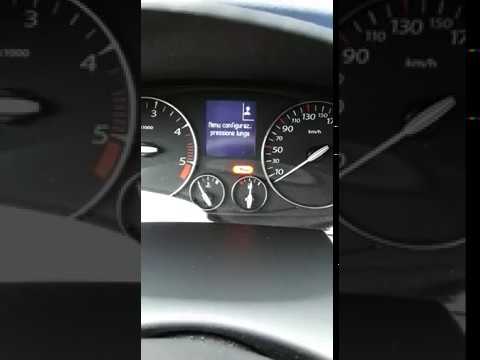
Once you have changed the engine oil on the Renault Laguna, you need to reset the light that reminds you to perform this maintenance, as outlined in the manufacturer's service plan. Sit in the driver's seat and start the engine. Using the indicators located at the top of the lever to the right of the steering wheel, select the service option on the central display. Press and hold the button with the downward arrow until the new maintenance interval data appears on the display. At this point, release the button and the procedure is complete.
Updated on 17 July 2026 by ScegliAuto
Video tutorial
Related tutorials
Renault Laguna
(2007-2015 /
MK 3, Laguna III, MK III, X91, Laguna 3)
To reset the Service light of the Renault Laguna, you need to turn on the instrument panel by inserting the ignition key into the corresponding slot.…
Renault Laguna
(2007-2015 /
MK 3, Laguna III, MK III, X91, Laguna 3)
This brief video tutorial shows the procedure to reset the service light on a Renault Laguna, third generation model produced from 2007 to 2015. Firs…

Renault Laguna
(2007-2015 /
MK 3, Laguna III, MK III, X91, Laguna 3)
To reset the Service light on the Renault Laguna, you need to turn on the instrument panel by inserting the ignition key into the corresponding slot …
Other guides you may be interested in
|
How to Adjust the Brightness of the Instrument Cluster on a Peugeot 3008?
To adjust the brightness of the instrument cluster on a Peugeot 3008, you need to turn on the ignition and access the settings via the menu located in the central area of the dashboard. In the screen that appears, select the "Display Configuration" option: now, by selecting the "Brightness" option, you can adjust it using the dedicated slider that will appear on the screen. The adjustment should be made with the headlights on as well as with them off. Once the adjustment is complete, you can turn off the instrument cluster. by ScegliAuto More videos
|

For advertising on this site Write to info@scegliauto.com
ScegliAuto is not responsible for any inaccuracy of the data in the lists. To report any inaccuracy or your business (if you own the business in question), please write to info@scegliauto.com
Number of seconds to generate the page: 0.163
(c) ScegliAuto 2026 - info@scegliauto.com - Privacy policy VAT number: IT01247470535 |
