
|
Do it yourself
| |||
| ||||


How to replace the rear headlight bulb of the Renault Scenic 2
Model: Renault Scenic
MK 2, Scenic 2
- Years 2003-2009
Today we will explain how to replace the rear headlight bulb of the Renault Scenic 2. To perform this simple and quick operation independently, we need to: - open the trunk of the car; - unscrew the two screws with a T20; - remove the headlight; - disconnect the connector; - remove the lamp cover; - remove the bulb; - insert the new bulb; - close the lamp cover; - connect the connector to the headlight; - insert the headlight and screw the two screws; - close the trunk; After completing all the steps, we must turn on the dashboard and lights to test the functioning of the bulb.
Posted on 3 July 2024 by ScegliAuto
Video tutorial
Related tutorials
Renault Scenic
(2003-2009 /
MK 2, Scenic 2)
If you own a Renault Scenic Mk2 and are wondering how to replace the rear headlight bulb, then all you have to do is read the following guide and fol…

Renault Scenic
(2009-2015 /
Scenic 3, MK 3, MK III, Scenic III)
To replace the rear headlight bulb of the Renault Scénic model 3, we need to open the trunk and unscrew the three screws located along the side of th…

Renault Scenic
(2009-2015 /
Scenic 3, MK 3, MK III, Scenic III)
Today's instructions will allow us to remove and replace the bulbs of the rear headlamp on the Renault Scenic. First, open the rear tailgate of the b…
Other guides you may be interested in
|
How to Open the Fuel Cap of the Volkswagen Jetta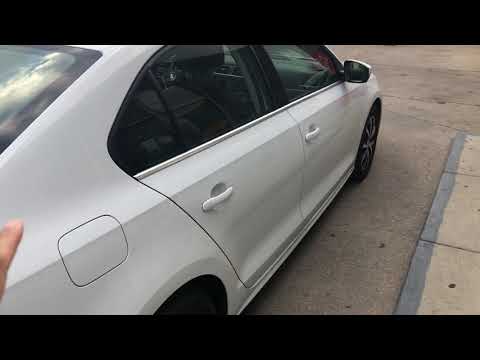
When you need to refuel this vehicle, first open the fuel filler flap. Follow these simple instructions, and you can also watch the video for more details. First, unlock the central locking to open the flaps. Then, press the fuel cap with your hand to unlock it and open it. Underneath, you will find the fuel cap, which you need to unscrew counterclockwise. At this point, you can proceed to refuel. by ScegliAuto More videos
|
|
For advertising on this site Write to info@scegliauto.com
ScegliAuto is not responsible for any inaccuracy of the data in the lists. To report any inaccuracy or your business (if you own the business in question), please write to info@scegliauto.com
Number of seconds to generate the page: 0.167
(c) ScegliAuto 2026 - info@scegliauto.com - Privacy policy VAT number: IT01247470535 |
