
|
Do it yourself
| |||
| ||||


Cruise Control Installation
Model: Saab 9 3
MK 2
- Years 2002-2014
Cruise control is a device that alleviates driver fatigue, especially on long motorway stretches where speed remains constant for extended periods. This device allows the driver to avoid keeping their foot on the accelerator, thus preventing cramps and fatigue. To activate cruise control, bring the vehicle to cruising speed and then push the button on the lever inwards; the device will activate, allowing you to remove your foot from the accelerator pedal. Minor speed adjustments can be made using the control at the top of the lever; pushing the button upwards increases speed, while lowering it decreases speed. Cruise control will automatically deactivate if the brake pedal is pressed.
Updated on 5 February 2026 by ScegliAuto
Video tutorial
Related tutorials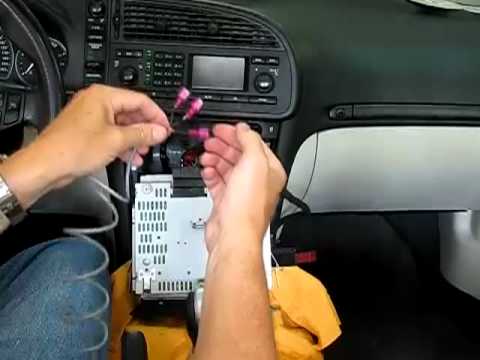
Saab 9 3
(2002-2014 /
MK 2)
To connect your mobile phone and play music from it through the car radio, start by removing the radio. Unlock the radio with a flathead screwdriver,…
Saab 9 3
(2002-2014 /
MK 2)
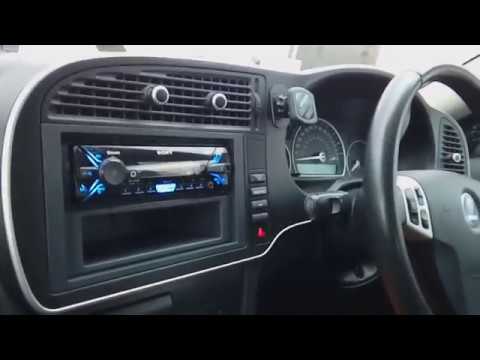
To install an aftermarket radio, first remove the original unit. Purchase a fitting kit to insert into the dashboard and a universal wiring harness t…
Saab 9 3
(2002-2014 /
MK 2)
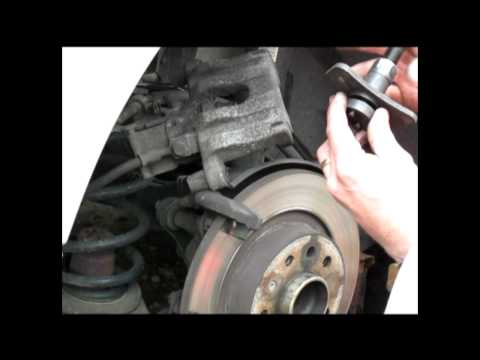
This first part of the video illustrates how to change the brake pads on a 2006 Saab 9-3. A later section will also cover the replacement of the brak…
Other guides you may be interested in
|
Installation of Upgraded Intercooler Radiator with Pipes
Lift the vehicle on suitable axle stands, remove the front wheels, and then the front bumper and grille. Proceed to remove the front headlights; drain the coolant, remove the intercooler radiator and the hoses connecting it to the intake system. Position the new intercooler radiator in the grille, temporarily securing it with cable ties, and mark with a marker the part of the metal that needs to be removed to allow the new hoses to pass through. Cut the marked portion of metal and apply a gasket to the edge. Remove the inner cover of the bumper and position it near the radiator to identify any interfering parts to eliminate: again, apply a gasket to the edge of the cut. Create brackets for securing the new radiator and proceed with the installation of the connecting pipes from the radiator to the intake, shaping and connecting them appropriately. Finally, reassemble the bumper, headlights, and grille. by ScegliAuto More videos
|
|
For advertising on this site Write to info@scegliauto.com
ScegliAuto is not responsible for any inaccuracy of the data in the lists. To report any inaccuracy or your business (if you own the business in question), please write to info@scegliauto.com
Number of seconds to generate the page: 0.040
(c) ScegliAuto 2026 - info@scegliauto.com - Privacy policy VAT number: IT01247470535 |