
|
Do it yourself
| |||
| ||||


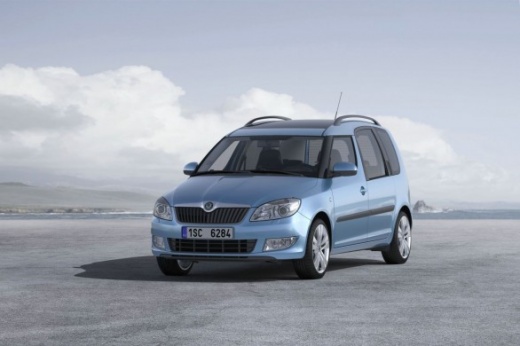
How do you reset the service light in the Skoda Roomster?
Model: Skoda Roomster
MK 1
- Years:
2006, 2007, 2008, 2009, 2010, 2011, 2012, 2013, 2014, 2015
Video tutorial
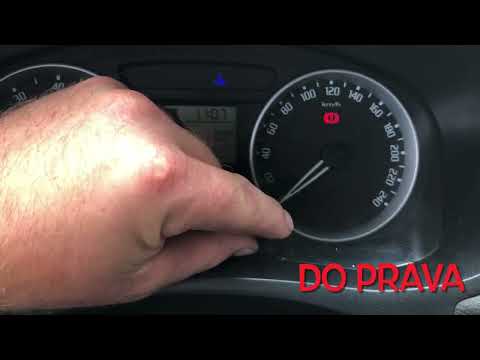
The service light of the Skoda Roomster is identical to that of all other cars, that is, it is in the shape of a hexagonal key and yellow in color. Its function is well known, that is, to alert the driver that the service is due soon, as scheduled by mileage, and it will be necessary to perform a new maintenance, following the program of the user manual, engine oil, brake oil, filters, timing belt, and so on. Once the work just described is finished, the reset of the aforementioned light is carried out: the instrument panel is turned on and the 0.0 button, next to the odometer, is held down until the programming of the future deadline occurs.
Posted on 27 February 2025 by ScegliAuto
Related tutorials
Skoda Roomster
(2006-2015 /
MK 1)
After carrying out the routine maintenance check, it will be necessary to reset the service light; let's see the reset procedure on the Skoda Roomste…

Skoda Roomster
(2006-2015 /
MK 1)
Here is a tutorial video dedicated mainly to a series of vehicles from Skoda, Volkswagen, and Seat, including the Skoda Roomster, useful for learning…
Skoda Roomster
(2006-2015 /
MK 1)
The service light on your 2008 Skoda Roomster illuminates when it is time for a vehicle service. If it lights up despite having already completed thi…
Other guides you may be interested in
|
How to Remove the Rear Seat of a Hyundai Tucson?
To remove the rear seat of a Hyundai Tucson, follow these steps. Start by moving the front seats to their most forward position to gain space. Next, locate the release lever on the underside of the rear seat, near the floor. Press this lever down while pulling the seat upwards to unlock it from the anchor pins. Once unlocked, tilt the seat upwards and forwards to remove it from its position. Repeat this process for both sides of the rear seat. Be careful of any electrical cables or components that may be connected to the seat during removal. Once the rear seat is removed, the disassembly is complete. by ScegliAuto More videos
|
For advertising on this site Write to info@scegliauto.com
ScegliAuto is not responsible for any inaccuracy of the data in the lists. To report any inaccuracy or your business (if you own the business in question), please write to info@scegliauto.com
Number of seconds to generate the page: 0.126
(c) ScegliAuto 2026 - info@scegliauto.com - Privacy policy VAT number: IT01247470535 |
