
|
Do it yourself
| |||
| ||||


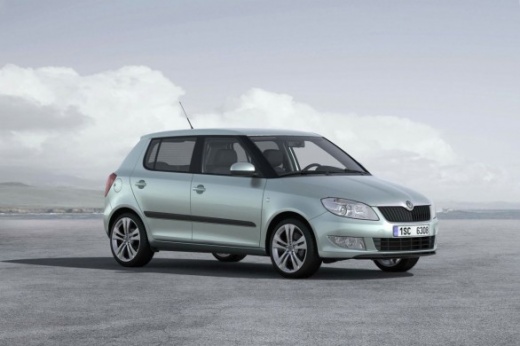
If the Power Steering Light Comes On in a Skoda Fabia, Here’s Why
Model: Skoda Fabia
5J, Mark2
- Years:
2007, 2008, 2009, 2010, 2011, 2012, 2013, 2014
Video tutorial
This video shows the issue causing the power steering failure in the Skoda Fabia; the reason is that the maxi fuse located in the box in front of the engine compartment has blown. The reason the fuse blew is that the electrical wires running from the battery to the maxi fuse and then to the power steering pump rub against each other, wearing out over time, losing insulation, and shorting out: this creates a short circuit, causing the fuse to blow. The battery was then disconnected, the wires inspected, the maxi fuse replaced with one of identical specification, and the damaged wires repaired by covering them with heat-shrink tubing or insulating tape. Reconnect the battery and test the power steering.
Posted on 31 March 2026 by ScegliAuto
Related tutorials
Skoda Fabia
(1999-2007 /
Mark1, 6Y)
In this video, you can see where the power steering fluid reservoir is located in the Skoda Fabia, useful if you need to top it up. As shown, the res…

Skoda Fabia
(2014-2021 /
Mark3, NJ)
You can reset the trip meter on the Skoda Fabia by turning on the instrument cluster, inserting the ignition key into the corresponding slot. Once th…

Skoda Fabia
(1999-2007 /
Mark1, 6Y)
On the Škoda Fabia, all fuses are contained within their respective fuse boxes installed in the vehicle: in this model, you will find two boxes. The …
Other guides you may be interested in
|
How to Remove the Rear Seat of a Hyundai Tucson?
To remove the rear seat of a Hyundai Tucson, follow these steps. Start by moving the front seats to their most forward position to gain space. Next, locate the release lever on the underside of the rear seat, near the floor. Press this lever down while pulling the seat upwards to unlock it from the anchor pins. Once unlocked, tilt the seat upwards and forwards to remove it from its position. Repeat this process for both sides of the rear seat. Be careful of any electrical cables or components that may be connected to the seat during removal. Once the rear seat is removed, the disassembly is complete. by ScegliAuto More videos
|
|
For advertising on this site Write to info@scegliauto.com
ScegliAuto is not responsible for any inaccuracy of the data in the lists. To report any inaccuracy or your business (if you own the business in question), please write to info@scegliauto.com
Number of seconds to generate the page: 0.056
(c) ScegliAuto 2026 - info@scegliauto.com - Privacy policy VAT number: IT01247470535 |
