
|
Do it yourself
| |||
| ||||


How to replace the ECO button on a Smart 451
Model: Smart Smart
451
- Years 2007-2015
In this video, we will see how to replace the ECO button on a Smart 451: it is a mechanically simple operation, but it requires attention. First, let's get a button that we can find on Ali Express with the code 1005005240245387 at the price of 4.10 euros, with free delivery. Disconnect the battery; turn the ring that locks the gear lever counterclockwise to release the clip, and then pull the gear lever upwards to remove it. Now we need to remove the central console that houses the ECO button, inserting a spatula between the console and the trim, and exerting slight pressure to release the clips. Once the console is removed, we will see the electrical connectors on the back of the button: disconnect them. The button is held by small screws that we will unscrew. Install the new button and reconnect the connector. Repeat all the steps in reverse order to put the console and gear lever back in place.
Posted on 8 September 2025 by ScegliAuto
Video tutorial
Related tutorials
Smart
(2007-2015 /
451)
If even after performing the regular maintenance of your Smart 451 (year 2007-2015) you notice that the alarm light continues to turn on on the dashb…
Smart
(2007-2015 /
451)
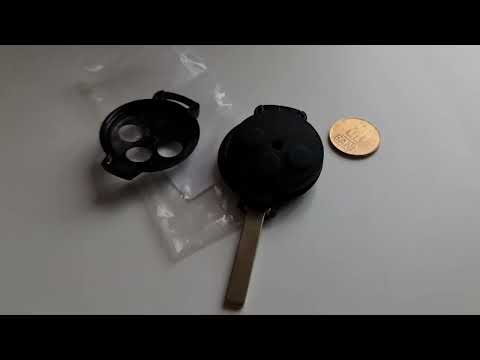
If the key of your Smart 451 suddenly stopped working, it is very likely that the small button battery inside it has completely discharged. In the fo…
Smart
(2007-2015 /
451)
ESP is the acronym for Electronic Stability Program, and in Italy it is also known as ESC, which stands for Electronic Stability Control. It is turne…
Other guides you may be interested in
|
Removal and Replacement of Mini Headlamp Washers
To remove and replace the headlamp washers on a Mini, proceed as follows: 1) Open the engine bay. 2) Disconnect the battery. 3) Remove the four bolts securing the headlamp to the car's frame, taking care of the different lengths of the bolts. 4) Gently lift the headlamp unit, remembering to disconnect the electrical connection and the rubber hose of the washer. 5) Remove and replace the washer using the two screws from the headlamp unit. 6) To reinstall the components, proceed in reverse, ensuring the correct positioning of all screws and electrical/hydraulic connections. by ScegliAuto More videos
|

|
For advertising on this site Write to info@scegliauto.com
ScegliAuto is not responsible for any inaccuracy of the data in the lists. To report any inaccuracy or your business (if you own the business in question), please write to info@scegliauto.com
Number of seconds to generate the page: 0.141
(c) ScegliAuto 2026 - info@scegliauto.com - Privacy policy VAT number: IT01247470535 |