
|
Do it yourself
| |||
| ||||


How to Replace the Brake Discs and Pads on the Subaru Forester
Model: Subaru Forester
SG, MK 2
- Years 2002-2008
To replace the front brake discs and pads on the Subaru Forester, lift the front of the car and remove the right front wheel. Using a 14mm socket, first clean with a wire brush and spray lubricant, then unscrew the bolts holding the caliper. Remove the pads from the bracket, clean with a wire brush and spray lubricant, then unscrew the bolts holding the bracket with a 17mm socket and remove it. With the bracket removed, you can also take off the brake disc. Clean the hub with a wire brush and apply grease. Clean the pad bracket, insert the new pads into the bracket with the friction material facing inwards, and bleed the brake system to remove air bubbles. Position the new brake disc onto the hub, clean it with a degreaser, clean the brake caliper, retract the two pistons so they are parallel to the caliper, apply grease to the caliper, position the bracket with the pads onto the disc and re-tighten it. Position the brake caliper onto the bracket and re-tighten it. Check for any air leaks in the braking system and refit the wheel. Repeat the same procedure on the left side.
Updated on 22 July 2026 by ScegliAuto
Video tutorial
Related tutorials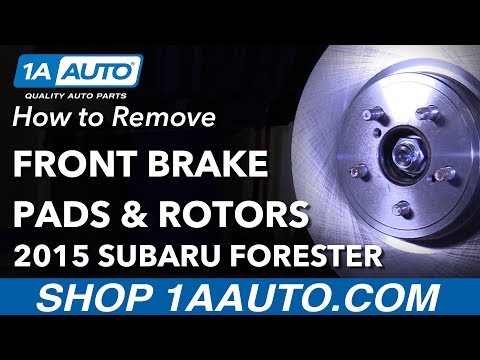
Subaru Forester
(2012-2019 /
MK 4, SJ)
Below are the instructions necessary for removing and replacing the front brake pads on the fourth generation Subaru Forester. Start by lifting the v…
Subaru Forester
(2002-2008 /
SG, MK 2)
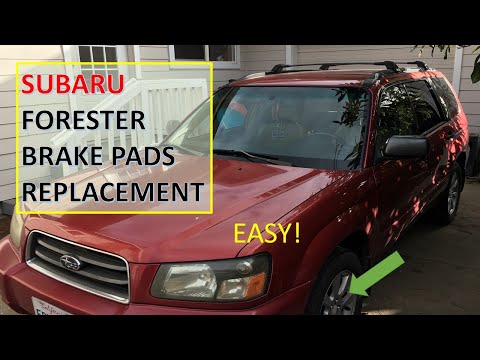
This video shows how to remove and replace the brake pads, whether front or rear, on the second series Subaru Forester. First, lift the vehicle and r…

Subaru Forester
(2018-2025 /
MK 5, SK)
In this mini guide dedicated to your Subaru Forester fifth generation (2019-2023), we will discover how to correctly and independently replace the ca…
Other guides you may be interested in
|
How to Open the Bonnet on the Lancia Y
To open the bonnet on this vehicle, follow these simple instructions: first, open the driver's door and locate the lever positioned just below the dashboard, marked with an image of the vehicle with the bonnet open. Pull this lever towards you until you hear a "click" indicating the bonnet is released. Next, exit the cabin and stand in front of the bonnet to disengage the safety catch and complete the opening. To do this, slightly lift the bonnet, locate the yellow lever underneath, and pull it to the left to fully release and open the bonnet. by ScegliAuto More videos
|
|
For advertising on this site Write to info@scegliauto.com
ScegliAuto is not responsible for any inaccuracy of the data in the lists. To report any inaccuracy or your business (if you own the business in question), please write to info@scegliauto.com
Number of seconds to generate the page: 0.593
(c) ScegliAuto 2026 - info@scegliauto.com - Privacy policy VAT number: IT01247470535 |
