
|
Do it yourself
| |||
| ||||


How to Replace the Oil Filter on the Suzuki Swift
Model: Suzuki Swift
Rs41, AZG, MK 5
- Years 2010-2017
This guide explains how to replace the oil filter on a 2017 Suzuki Swift. First, open the bonnet and remove the oil filler cap located near the engine. Next, lift the vehicle and remove the undertray. Remove the nut securing the oil sump plug and wait for the oil to drain completely. Replace the sump plug and remove the nut to open and extract the oil filter. Insert the new filter and lower the vehicle. Finally, top up the oil in the reservoir.
Updated on 22 September 2026 by ScegliAuto
Video tutorial
Related tutorials
Suzuki Swift
(2004-2010 /
MK 4, Rs41)
If you own a Suzuki Swift and are wondering how you can replace the cabin air filter yourself, then all you have to do is read the following guide an…
Suzuki Swift
(2004-2010 /
MK 4, Rs41)
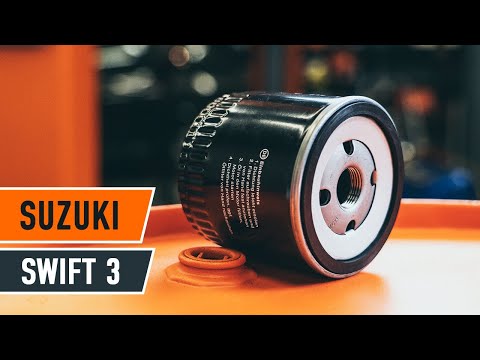
This short guide will provide the necessary instructions to carry out routine maintenance by replacing the engine oil and oil filter on a Suzuki Swif…
Suzuki Swift
(2004-2010 /
MK 4, Rs41)
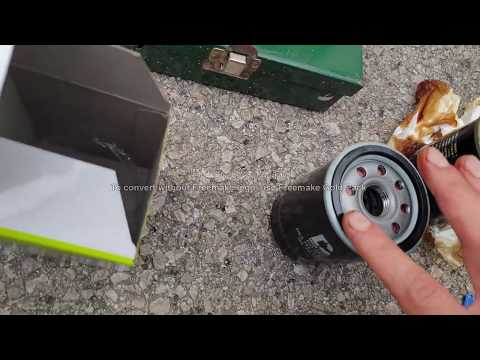
In this video, you can see where the oil filter is located on the Suzuki Swift and how to proceed if you need to replace it, which is included in the…
Other guides you may be interested in
|
How to Open the Bonnet on the Lancia Y
To open the bonnet on this vehicle, follow these simple instructions: first, open the driver's door and locate the lever positioned just below the dashboard, marked with an image of the vehicle with the bonnet open. Pull this lever towards you until you hear a "click" indicating the bonnet is released. Next, exit the cabin and stand in front of the bonnet to disengage the safety catch and complete the opening. To do this, slightly lift the bonnet, locate the yellow lever underneath, and pull it to the left to fully release and open the bonnet. by ScegliAuto More videos
|
|
For advertising on this site Write to info@scegliauto.com
ScegliAuto is not responsible for any inaccuracy of the data in the lists. To report any inaccuracy or your business (if you own the business in question), please write to info@scegliauto.com
Number of seconds to generate the page: 0.490
(c) ScegliAuto 2026 - info@scegliauto.com - Privacy policy VAT number: IT01247470535 |
