
|
Do it yourself
| |||
| ||||


Fuse box diagram and positioning of fuses for the Suzuki Swift.
Model: Suzuki Swift
MK 4, Rs41
- Years 2004-2010
In this guide, we will discover the layout and positioning of the fuse boxes of the Suzuki Swift. First, we get on board the car, on the driver's side, and start to locate the internal fuse box; we find it at the bottom, under the steering wheel, by removing the plastic cover to access it. We find another fuse box in the engine compartment, by removing the plastic cover located at the top right (next to the battery); the video shows the layout and diagram of the fuses, also available in the vehicle's user manual, useful for finding the codes and amperages of the fuses!
Posted on 14 August 2024 by ScegliAuto
Video tutorial
Related tutorials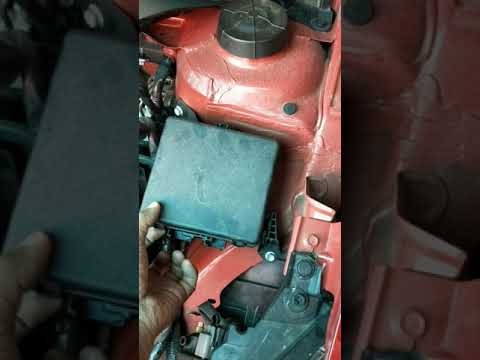
Suzuki Swift
(2010-2017 /
Rs41, AZG, MK 5)
Today's instructions will show you the diagram and positioning of the external fuse box of the Suzuki Swift. First, open the bonnet and locate the fu…

Suzuki Swift
(2004-2010 /
MK 4, Rs41)
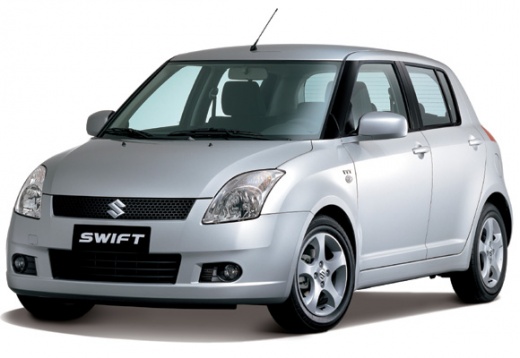
Below we will see the information regarding the positioning and the fuse layout of the Suzuki Swift. First, we open the car's engine hood to access t…

Suzuki Swift
(2017-2024 /
MK 6, A2L)
Today's instructions will show us the positioning and layout of the fuse boxes of the Suzuki Swift. First, let's open the car's hood and start by rem…
Other guides you may be interested in
|
How to Open the Bonnet on the Lancia Y
To open the bonnet on this vehicle, follow these simple instructions: first, open the driver's door and locate the lever positioned just below the dashboard, marked with an image of the vehicle with the bonnet open. Pull this lever towards you until you hear a "click" indicating the bonnet is released. Next, exit the cabin and stand in front of the bonnet to disengage the safety catch and complete the opening. To do this, slightly lift the bonnet, locate the yellow lever underneath, and pull it to the left to fully release and open the bonnet. by ScegliAuto More videos
|
|
For advertising on this site Write to info@scegliauto.com
ScegliAuto is not responsible for any inaccuracy of the data in the lists. To report any inaccuracy or your business (if you own the business in question), please write to info@scegliauto.com
Number of seconds to generate the page: 0.288
(c) ScegliAuto 2026 - info@scegliauto.com - Privacy policy VAT number: IT01247470535 |
