
|
Do it yourself
| |||
| ||||


How to Change the Headlight of the Toyota Highlander
Model: Toyota Toyota Various
Video tutorial
To change the headlight of a Toyota Highlander, start by opening the bonnet and keeping it raised. To remove the front grille, there are 4 clips on the top that you will need to remove by lifting them with a flat screwdriver and using a special tool to pry them off from above. At the back of the grille, there are clips that simply pull out to remove the front grille. Once the grille is removed, you can take out the headlight by unscrewing the upper bolts with a 10mm socket and using a special tool to lift the brackets where the bolts were. Now, go to the back of the bumper where the wheel is located, unlock the clips with a flat screwdriver by unscrewing them slightly counterclockwise and remove them. Move the splash guard slightly to unscrew a 10mm bolt, allowing you to pull slightly forward. Remove the 2 lower 10mm bolts from the headlight bracket, detach it from the pin; there is a plastic clip under the headlight, push it and extract the headlight by removing the bulb holders with the bulbs. Now remove the bulbs from the holders, clean the holders with a suitable electrical contact cleaner, and remove any excess product using an air compressor. Refit the new bulbs into the holders, insert them back into the headlight, and reverse the procedure described for removing the headlight.
Updated on 3 June 2026 by ScegliAuto
Related tutorials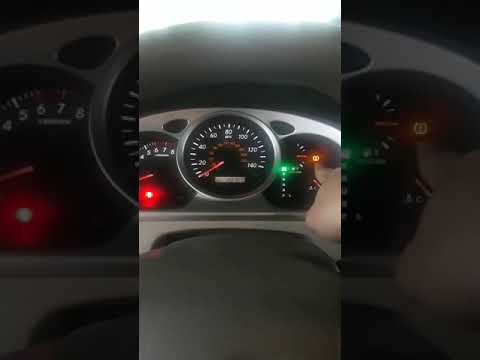
Toyota Toyota Various
In this video tutorial, you will see how to reset the tyre pressure warning light on a Toyota Highlander; before performing the reset operation, it i…

Toyota Toyota Various
In this new guide dedicated to your Toyota Avanza Mk1, you will learn how to correctly replace the rear light bulb. The entire operation requires jus…

Toyota Toyota Various
The rubber seal of the windows on the Toyota Yaris Hatchback is very easy to replace. First, remove the old rubber by prising it off with a plastic t…
Other guides you may be interested in
|
How to Remove the Rear Seat of a Hyundai Tucson?
To remove the rear seat of a Hyundai Tucson, follow these steps. Start by moving the front seats to their most forward position to gain space. Next, locate the release lever on the underside of the rear seat, near the floor. Press this lever down while pulling the seat upwards to unlock it from the anchor pins. Once unlocked, tilt the seat upwards and forwards to remove it from its position. Repeat this process for both sides of the rear seat. Be careful of any electrical cables or components that may be connected to the seat during removal. Once the rear seat is removed, the disassembly is complete. by ScegliAuto More videos
|
|
For advertising on this site Write to info@scegliauto.com
ScegliAuto is not responsible for any inaccuracy of the data in the lists. To report any inaccuracy or your business (if you own the business in question), please write to info@scegliauto.com
Number of seconds to generate the page: 0.081
(c) ScegliAuto 2026 - info@scegliauto.com - Privacy policy VAT number: IT01247470535 |
