
|
Do it yourself
| |||
| ||||



Replacing Car Shock Absorbers
Model: Toyota Auris
E150
- Years:
2007, 2008, 2009, 2010, 2011, 2012
Video tutorial
The purpose of shock absorbers is to create a system that slows down the movements of the suspension. If your car has high mileage, it is necessary to replace them. The replacement process is quite complex, but it can be done independently without necessarily seeking the help of a mechanic, thus saving a significant amount of money. The following guide shows step by step how to replace them. Once the bolts are loosened, lift the car with a jack and then remove the wheel. Next, open the bonnet and remove all the screws located above the shock absorber mount. You will also need to remove the two screws on the spindle and the one positioned on the stabiliser, which runs parallel to the 'affected' shock absorber. You will then notice how the shock absorber will come out easily.
Updated on 19 February 2026 by ScegliAuto
Related tutorials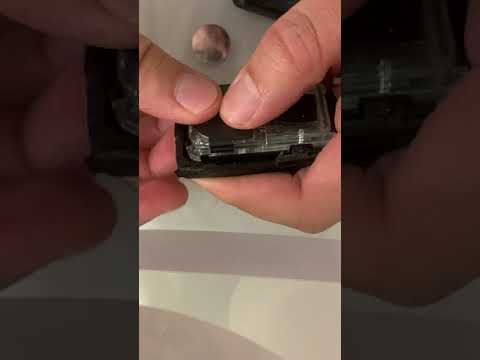
Toyota Auris
(2018-2024 /
E210)
To replace the battery in the remote key of a Toyota Auris, first, remove the metal key contained within the casing. Press the button located on the …

Toyota Auris
(2007-2012 /
E150)
If you hear a noise coming from the front of the vehicle, especially when driving on uneven surfaces, one possible cause could be the failure of the …

Toyota Auris
(2012-2018 /
E180)
This video tutorial shows the steps to replace the battery in the key fob of a Toyota Auris. The required steps are straightforward and quick. Take t…
Other guides you may be interested in
|
How to Remove the Rear Seat of a Hyundai Tucson?
To remove the rear seat of a Hyundai Tucson, follow these steps. Start by moving the front seats to their most forward position to gain space. Next, locate the release lever on the underside of the rear seat, near the floor. Press this lever down while pulling the seat upwards to unlock it from the anchor pins. Once unlocked, tilt the seat upwards and forwards to remove it from its position. Repeat this process for both sides of the rear seat. Be careful of any electrical cables or components that may be connected to the seat during removal. Once the rear seat is removed, the disassembly is complete. by ScegliAuto More videos
|
|
For advertising on this site Write to info@scegliauto.com
ScegliAuto is not responsible for any inaccuracy of the data in the lists. To report any inaccuracy or your business (if you own the business in question), please write to info@scegliauto.com
Number of seconds to generate the page: 0.017
(c) ScegliAuto 2026 - info@scegliauto.com - Privacy policy VAT number: IT01247470535 |
