
|
Do it yourself
| |||
| ||||


How to Replace the Alternator Belt on a Toyota Yaris
Model: Toyota Yaris
Xp10
- Years 1999-2005
To replace the alternator belt on a Toyota Yaris, start by loosening the alternator bolts with a 12mm spanner; once the 3 bolts are loosened, slightly move the alternator to relieve tension on the belt, then raise the car and remove the belt from underneath. After removing the belt, reinsert the new one from below, following the installation diagram. Reposition the alternator so that the belt is tensioned again, then hold the alternator in place and tighten the alternator bolts first with a regular spanner, then with a torque wrench. Finally, you can start the car's engine.
Updated on 25 August 2026 by ScegliAuto
Video tutorial
Related tutorials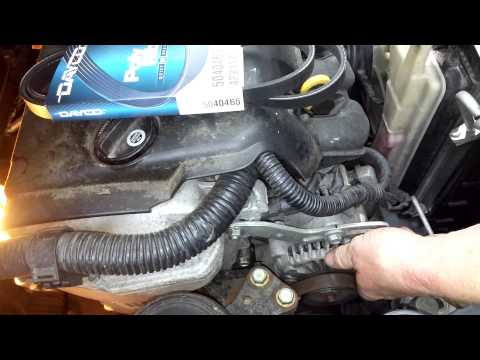
Toyota Yaris
(2005-2011 /
Xp90)
In this video tutorial, you can see how to replace the timing belt on a Toyota Yaris. If you notice that the timing belt is worn, replace it before i…
Toyota Yaris
(2005-2011 /
Xp90)
In this video tutorial, you will learn how to remove and replace the timing belt on a Toyota Yaris. The procedure for replacing the belt on this type…
Toyota Yaris
(1999-2005 /
Xp10)
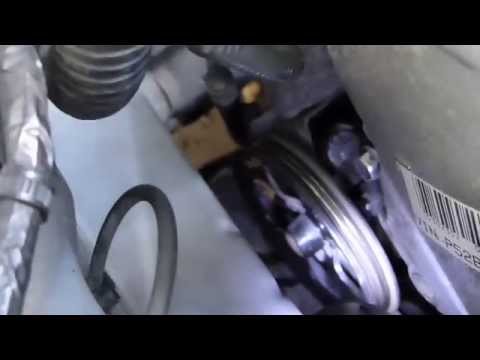
In this tutorial, you will learn how to replace the auxiliary belt in a Toyota Yaris, a relatively simple operation but one that requires good manual…
Other guides you may be interested in
|
How to Reset the Tyre Pressure Light on the Opel Grandland X
While driving, if you notice the tyre pressure warning light coming on, first check the actual inflation pressure of the tyres and, if necessary, restore the pressures recommended by the manufacturer. After restoring the correct pressures, you need to reset the warning light that has illuminated on the instrument cluster. To do this, locate the reset button on the lower central console. Press this button and hold it down for at least 3 seconds, after which the low pressure indication will turn off. by ScegliAuto More videos
|
|
For advertising on this site Write to info@scegliauto.com
ScegliAuto is not responsible for any inaccuracy of the data in the lists. To report any inaccuracy or your business (if you own the business in question), please write to info@scegliauto.com
Number of seconds to generate the page: 0.148
(c) ScegliAuto 2026 - info@scegliauto.com - Privacy policy VAT number: IT01247470535 |
