
|
Do it yourself
| |||
| ||||



How to Replace the Alternator on the Toyota RAV4 MK3
Model: Toyota Rav 4
Xa30, MK 3
- Years:
2006, 2007, 2008, 2009, 2010, 2011, 2012, 2013
Video tutorial
In this video, you will learn how to replace the alternator on the Toyota RAV4 MK3. Start by disconnecting the negative battery terminal. Next, remove the protective plastic covering the front of the bonnet to access the bolts of the coolant reservoir. This will give you ample space to reach the drive belt that needs to be removed. Use a long spanner to make the job easier. Take the opportunity to replace the belt, then remove the ten bolts securing the alternator, which is located beneath a tangle of wires that you will need to move aside to access the two fourteen-millimetre bolts underneath. Use a small pry bar to lever it out of its seat. You can find a replacement on Amazon with code B014PDFKXY for £148.65, with free delivery for Prime customers. Position the new alternator in place and refit it by reversing the entire procedure.
Updated on 12 September 2026 by ScegliAuto
Related tutorials
Toyota Rav 4
(2006-2013 /
Xa30, MK 3)
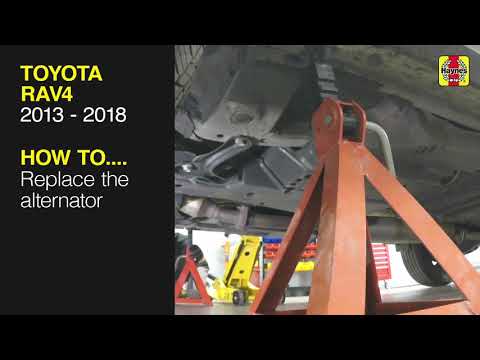
This tutorial shows how to replace the alternator in a Toyota RAV4, a simple operation that requires good manual skills. First, ensure the engine is …
Toyota Rav 4
(2013-2018 /
Xa40, MK 4)
To replace the alternator on a Toyota RAV4, remove the front left wheel of the vehicle, which will also require removing the inner cover of the wheel…

Toyota Rav 4
(2006-2013 /
Xa30, MK 3)
Locating the OBD port of your 2009 Toyota RAV4 is very simple, and with the following procedure, you will have no difficulty. First, ensure your car …
Other guides you may be interested in
|
How to Remove the Rear Seat of a Hyundai Tucson?
To remove the rear seat of a Hyundai Tucson, follow these steps. Start by moving the front seats to their most forward position to gain space. Next, locate the release lever on the underside of the rear seat, near the floor. Press this lever down while pulling the seat upwards to unlock it from the anchor pins. Once unlocked, tilt the seat upwards and forwards to remove it from its position. Repeat this process for both sides of the rear seat. Be careful of any electrical cables or components that may be connected to the seat during removal. Once the rear seat is removed, the disassembly is complete. by ScegliAuto More videos
|
|
For advertising on this site Write to info@scegliauto.com
ScegliAuto is not responsible for any inaccuracy of the data in the lists. To report any inaccuracy or your business (if you own the business in question), please write to info@scegliauto.com
Number of seconds to generate the page: 0.044
(c) ScegliAuto 2026 - info@scegliauto.com - Privacy policy VAT number: IT01247470535 |
