
|
Do it yourself
| |||
| ||||


How to Repair the Radio Antenna of a Toyota 4Runner N180
Model: Toyota 4runner
N180
- Years:
1996, 1997, 1998, 1999, 2000, 2001, 2002
Video tutorial
In this video, you can see how to repair the reception antenna of your car that has broken. The video refers to a 1999 Toyota 4Runner, but this solution is valid for all vehicles that have this type of antenna. You can find a new antenna, for example, on Amazon with the code B07HMR5LGD for $7.99, with free shipping. Use pliers to loosen the nut, then remove the rubber gasket and pull out the old antenna from its housing. Now insert the new antenna into the chrome screw; this part gets more complicated because you need to remember which way the antenna came out when you removed it: you must insert it in the same spot. In my case, it was facing towards the rear of the vehicle. Ensure that there is no exposed ground or that a piece of the old antenna is left behind.
Updated on 17 October 2026 by ScegliAuto
Related tutorials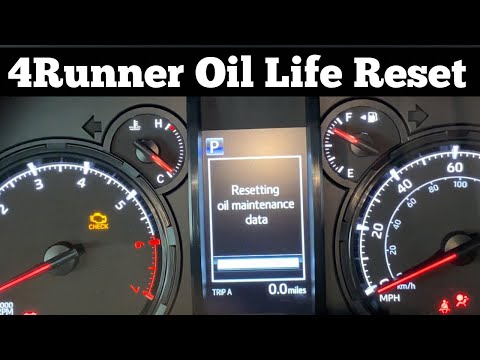
Toyota 4runner
(2010-2024 /
N280)
In this video, you can see how to reset the oil light on a Toyota 4Runner by following a few simple steps that will allow you to manage your vehicle …

Toyota 4runner
(2010-2024 /
N280)
Updating the firmware on a 2014 Toyota 4Runner is a simple task that takes just a few minutes. You will need: a good internet connection, a 2 gigabyt…
Toyota 4runner
(1996-2002 /
N180)
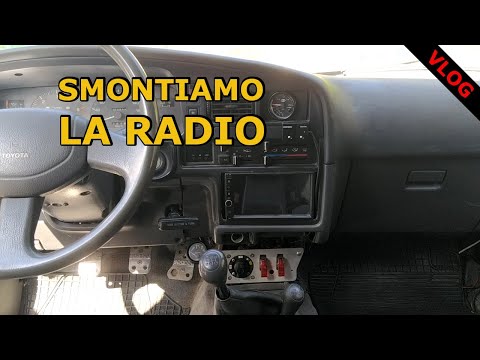
In today's video, learn how to replace the radio in a Toyota 4Runner. First, gather a new device to install in your vehicle. Next, detach the dashboa…
Other guides you may be interested in |
How to Remove the Rear Seat of a Hyundai Tucson?
To remove the rear seat of a Hyundai Tucson, follow these steps. Start by moving the front seats to their most forward position to gain space. Next, locate the release lever on the underside of the rear seat, near the floor. Press this lever down while pulling the seat upwards to unlock it from the anchor pins. Once unlocked, tilt the seat upwards and forwards to remove it from its position. Repeat this process for both sides of the rear seat. Be careful of any electrical cables or components that may be connected to the seat during removal. Once the rear seat is removed, the disassembly is complete. by ScegliAuto More videos
|
|
For advertising on this site Write to info@scegliauto.com
ScegliAuto is not responsible for any inaccuracy of the data in the lists. To report any inaccuracy or your business (if you own the business in question), please write to info@scegliauto.com
Number of seconds to generate the page: 0.014
(c) ScegliAuto 2026 - info@scegliauto.com - Privacy policy VAT number: IT01247470535 |
