
|
Do it yourself
| |||
| ||||


How to Replace the Engine Oil on a YAMAHA XMAX 250
Model: (Various brands) Various
Video tutorial
In this video tutorial, you can see how to replace the engine oil on a YAMAHA XMAX 250. The first step is to start the engine for a few minutes to warm it up and help the oil drain out. Next, place a container for the old oil under the oil sump and use a 12 mm spanner to unscrew the oil drain plug, also removing the copper washer and replacing it with a new one. Meanwhile, use a 19 mm spanner to remove the oil filter (unscrew towards the wheel). Inside, there is a spring, the plug, and the filter (remember the arrangement of each piece for reassembly). If the filter is damaged, you must also replace the oil filter. Before reassembling everything, oil the O-ring. Now, reattach the pieces that were removed (plug, spring, and filter). Once all the oil has drained out, screw the drain plug back in, then proceed to top up the engine oil with approximately 1.2 litres.
Updated on 20 July 2026 by ScegliAuto
Related tutorials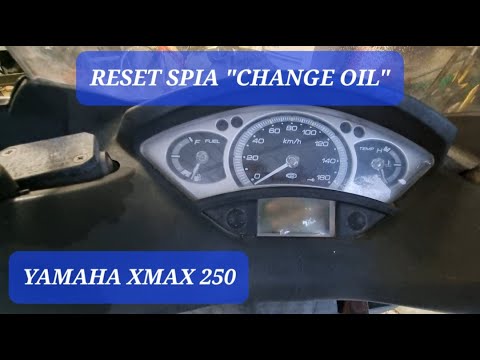
(Various brands) Various
Resetting the oil light on the 2007 Yamaha Xmax 250 is a very simple operation that you can carry out independently. It is important to reset the lig…

(Various brands) Various
Whenever you change the engine oil on this type of motorcycle, you must also reset the service light that appears on the dashboard. The description b…
(Various brands) Various
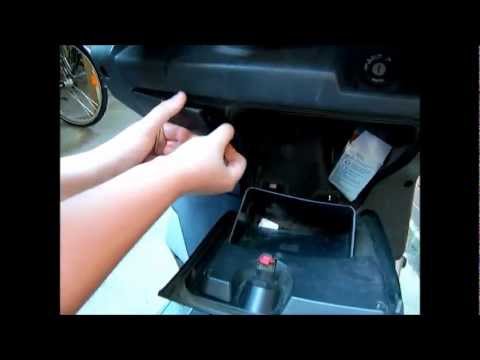
To change the battery on the Yamaha Xmax, start by opening the front panel. Use a screwdriver to remove the 2 screws securing the cover. Once the cov…
Other guides you may be interested in
|
Frequently Asked QuestionsHow to Open the Bonnet on the Mitsubishi L200?
In this tutorial, you will see how to open the bonnet on the Mitsubishi L200, a very simple operation that follows the standard procedure. First, open the vehicle and go to the driver's side, then locate the lever at the lower outer area, just in front of the pedals, and pull it. Next, position yourself in front of the bonnet, locate the second lever above the Mitsubishi logo, and push it to the right, releasing the latch. At this point, you can fully lift the bonnet and secure it with the prop rod. by ScegliAuto More videos
|
|
For advertising on this site Write to info@scegliauto.com
ScegliAuto is not responsible for any inaccuracy of the data in the lists. To report any inaccuracy or your business (if you own the business in question), please write to info@scegliauto.com
Number of seconds to generate the page: 0.093
(c) ScegliAuto 2026 - info@scegliauto.com - Privacy policy VAT number: IT01247470535 |
