
|
Do it yourself
| |||
| ||||


How to Properly Install the Water Pump
Model: (Various brands) Various
In this video, you will see how to properly install the water pump; first, do not run the pulley idle before installing the pump, as you risk seriously damaging it. This is because the internal gasket is not yet lubricated. One method to try rotating the water pump without having it mounted is to immerse it in coolant to form a protective film. Before installing the new pump, it is essential to drain the cooling system with the appropriate tool to prevent impurities from clogging the new pump; the circuit must also be thoroughly cleaned, and the seat where the pump will be installed must be well cleaned. Visually check the expansion tank to ensure there are no impurities or sediments. If the pump comes with a gasket, do not add sealant, as it will be drawn into the pump; if the gasket is rubber, it should be well coated with coolant. Fill the tank with the recommended coolant, not tap water, and never mix different fluids, as they can trigger a negative chemical reaction. When the tank is full and the pump is installed, rotate it by hand several times, then bleed the cooling system according to the instructions, running the engine for a few minutes.
Updated on 15 August 2026 by ScegliAuto
Video tutorial
Related tutorials
(Various brands) Various
To replace the water pump on a 1.9 CDTI or JTDm engine, remove the side cover to access the pulleys. The water pump is located directly under the upp…
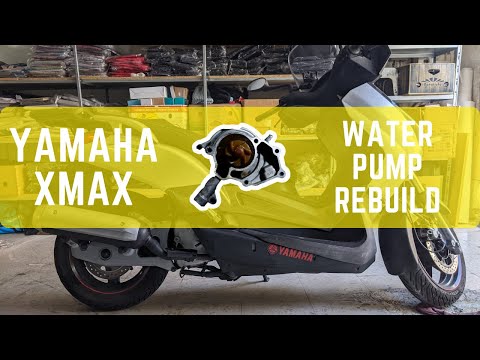
(Various brands) Various
If you need to replace the water pump on this scooter model, follow the steps outlined below for this operation. First, remove the lower left side co…

(Various brands) Various
When performing the distribution, and therefore changing the belt and pulleys that keep it in tension, it is essential to also change the water pump,…
Other guides you may be interested in
|
How to Open the Bonnet of a Renault Megane if the Lever is Broken?
If the lever that unlocks the bonnet of the Renault Megane is broken or not functioning, there is an emergency procedure to unlock the mechanism: remove the right front grille located at the top of the bumper. Once the grille is removed, you can locate the actuator mechanism: by pulling the spring in this position, you can unlock the actuator, allowing you to lift the bonnet and access the components located inside the engine compartment. You can then close the bonnet simply by lowering it. by ScegliAuto More videos
|
|
For advertising on this site Write to info@scegliauto.com
ScegliAuto is not responsible for any inaccuracy of the data in the lists. To report any inaccuracy or your business (if you own the business in question), please write to info@scegliauto.com
Number of seconds to generate the page: 0.571
(c) ScegliAuto 2026 - info@scegliauto.com - Privacy policy VAT number: IT01247470535 |
