
|
Do it yourself
| |||
| ||||


How to Perfectly Adjust the Beam of Your Car's Headlights
Model: (Various brands) Various
In this video, you can see how to perfectly adjust the beam of your car's front headlights. To make the adjustment, you will need a tape measure, some adhesive tape, and a screwdriver or at most a socket spanner. When making the adjustment, the first thing to remember is the height, and the second is a lateral adjustment. As a practical rule, the height at 7.62 cm (the 25 feet mentioned in the video) should be just below the side mirror of any car, ensuring that you achieve an adequate distance without being too high and risking dazzling oncoming drivers. For the lateral adjustment, the distance between the two steps of the light beam must be equidistant when the headlights are on at the front of your car, so you will need to measure the distance between the front of the car and the headlights and then match it to a wall 7.62 cm away. The video demonstrates this by marking the light beams with pieces of adhesive tape and then measuring and adjusting them accordingly.
Updated on 28 August 2026 by ScegliAuto
Video tutorial
Related tutorials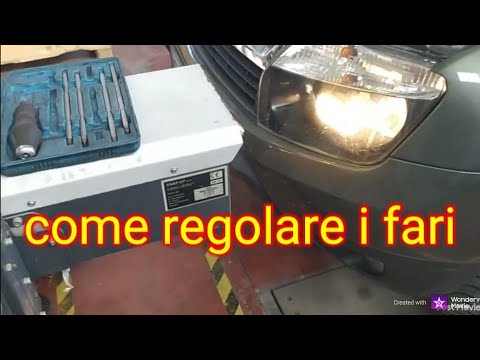
(Various brands) Various
The procedure for adjusting your car's headlights must be carried out with the vehicle parked on a level surface. You will need a headlight alignment…

(Various brands) Various
In this video we can see how to adjust and align the headlights: we see how to adjust the height of our headlights. We need to stand in front of a wh…

(Various brands) Various
Adjust the headlight alignment. The beam should point downwards. The internal adjustment raises the beam (but this depends on the vehicle's load). Th…
Other guides you may be interested in
|
How to Replace the Battery on a Honda Vision 110
To replace the battery on a Honda Vision 110, you need to remove the front fairing of the motorcycle, located directly under the front headlamp. To loosen this panel, unscrew the two screws found at its top, just below the handlebar. Once these screws are loosened, lever under the panel to detach it, gaining access to the battery underneath: this battery must be removed from its housing by unscrewing the fixing screws and disconnecting the power cables, replacing it with a new one. by ScegliAuto More videos
|
|
For advertising on this site Write to info@scegliauto.com
ScegliAuto is not responsible for any inaccuracy of the data in the lists. To report any inaccuracy or your business (if you own the business in question), please write to info@scegliauto.com
Number of seconds to generate the page: 0.407
(c) ScegliAuto 2026 - info@scegliauto.com - Privacy policy VAT number: IT01247470535 |
