
|
Do it yourself
| |||
| ||||


How to Perform a Complete Fluid Level Check
Model: (Various brands) Various
In this video, you will learn how to perform a complete fluid level check, especially before embarking on a long journey. Start with the coolant reservoir; it is crucial to add fluid of the same colour as what is already in the reservoir if necessary. The level should not be below the minimum or exceed the maximum. Always perform this check with the reservoir open. To measure the oil level, pull out the dipstick, clean it thoroughly, replace it, then pull it out again to check the level, which should also be between min. and max. If it is below the minimum, add oil (but there may be a leak or seepage to check), and if the level is too high, it indicates a problem with the anti-pollution device: this needs immediate attention! Now check the brake fluid. Again, the level should be between min. and max., on the outside of the reservoir. Next, check the tyre pressures, and if necessary, charge the battery.
Updated on 3 September 2026 by ScegliAuto
Video tutorial
Related tutorials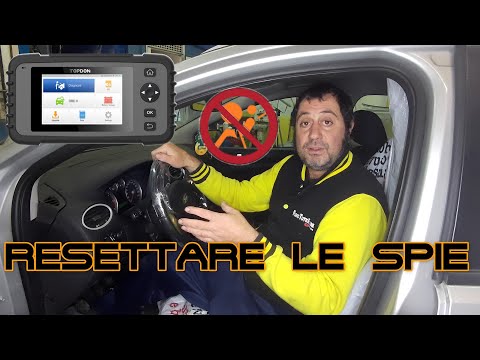
(Various brands) Various
The tool recommended by our friendly YouTuber is a professional-grade OBDII reader, but at an affordable price, which is used to clear all errors fro…

(Various brands) Various
In today's video, you will see how to service the Piaggio Porter, specifically how to perform an oil change and replace the filter. First, remember t…

(Various brands) Various
What happens if you put the wrong fuel in? Scenario 1: petrol in a diesel engine. This is the most serious scenario, as petrol is drier than diesel a…
Other guides you may be interested in
|
Frequently Asked QuestionsHow to replace the horn on a Renault Duster - Dacia Duster
Today's main instructions will show you the procedure for removing and replacing the horn or sound signal on the Renault Duster, as well as the Dacia Duster. First, open the bonnet of the vehicle and start removing the front bumper by unscrewing all the fixing screws; you will find the horn right in front of the radiator, as shown in the video. At this point, disconnect the electrical connector and unscrew the bracket screw to remove and replace the horn with the new one; finally, reassemble the front bumper! by ScegliAuto More videos
|
|
For advertising on this site Write to info@scegliauto.com
ScegliAuto is not responsible for any inaccuracy of the data in the lists. To report any inaccuracy or your business (if you own the business in question), please write to info@scegliauto.com
Number of seconds to generate the page: 0.707
(c) ScegliAuto 2026 - info@scegliauto.com - Privacy policy VAT number: IT01247470535 |
