
|
Do it yourself
| |||
| ||||


Volkswagen Sharan - Tail light bulbTail Light Bulb Volkswagen Sharan (1995-2010 / mk 1, 7 m) Volkswagen Sharan (1995-2010 / MK 1, 7M) How to Replace the Rear Light Bulb on a Volkswagen Sharan? To replace the rear light bulb on a Volkswagen Sharan, open the bonnet to access the panel on the side of the boot corresponding to the bulb to be replaced. …Read all… Posted on 4 November 2026 by ScegliAuto  Volkswagen Sharan (1995-2010 / MK 1, 7M) How to Remove Bulbs from the Sharan Rear Light Are the bulbs in your rear light blown? Let’s look at removing the bulbs from the Sharan light. Lift the tailgate of the boot and use a screwdriver to remove …Read all… Posted on 19 June 2026 by ScegliAuto  Volkswagen Sharan (1995-2010 / MK 1, 7M) Rear Light Bulb Replacement Each rear light consists of two elements, one fixed to the tailgate and the other attached directly to the bodywork. To check the condition of the bulbs and …Read all… Posted on 27 February 2026 by ScegliAuto Shocks (1) Air conditioning (1) Car stereo (2) Battery (2) Control arm (1) Convertible top (1) Body (1) Key (1) Trunk lock (1) Timing belt (3) Air conditioner (2) Checks and maintenance (10) Headlight (3) Air filter (5) Cabin air filter (6) Fuel filter (1) Diesel fuel filter (3) Parking brake (1) Grille (1) Light bulb (1) Headlight bulb (3) Tail light bulb (3) License plate light (2) Engine (1) Starter motor (1) Engine oil (3) Clock (4) Door trim panel (8) Windshield (1) Rear bumper (1) Brake pads (1) Car door (2) Push button (1) Wheel (2) Fuse box (26) Seat (5) Side mirror (1) AdBlue warning light (12) Warning light – error code (4) Tire pressure warning light (8) Service warning light (45) Windshield wipers (1) Drivetrain (2) |
How to Replace the Headlight Bulb on a Mercedes A-Class W169?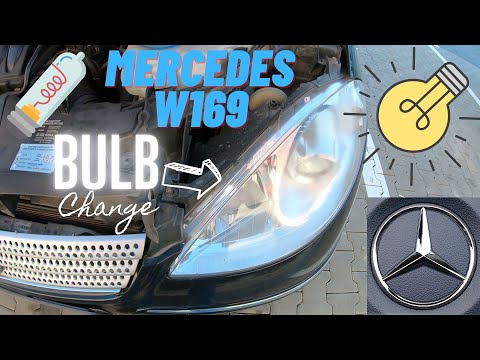
If one or more bulbs in the front headlights of your Mercedes A-Class W169 (2004-2012) are not functioning correctly, you need to replace them. This is a very simple task that takes just a few minutes. First, park the car safely and turn it off completely. Next, go to the front and lift the hood. Remove the protective cover located inside the engine compartment and take out the faulty bulb. Finally, insert the new replacement bulb and properly reattach the protective cover. Close the hood, and you're done. by ScegliAuto More videos
|
|
For advertising on this site Write to info@scegliauto.com
ScegliAuto is not responsible for any inaccuracy of the data in the lists. To report any inaccuracy or your business (if you own the business in question), please write to info@scegliauto.com
Number of seconds to generate the page: 0.005
(c) ScegliAuto 2026 - info@scegliauto.com - Privacy policy - About us VAT number: IT01247470535 |
