
|
Do it yourself
| |||
| ||||


DIY Windscreen Replacement
Model: Volkswagen Maggiolino
MK 1
- Years 1938-1980
First, remove the wiper blades complete with their arms and the internal rear-view mirror (simply rotate it clockwise).
Using a utility knife, cut the seal around the windscreen from the inside and push it forward (outwards) to completely detach and remove it (be careful not to deform the chrome trim around the windscreen). Next, remove the chrome trim by taking out the central coupling clips and sliding the two pieces of trim from the seal. Carefully clean the windscreen, removing all residues of the old seal, and apply the new one by inserting the edge of the windscreen into the designated groove; then reapply the chrome trim by fitting it inside the seal and securing the two pieces with their respective clips (apply tape to prevent them from slipping during the windscreen installation). Insert the electric cable inside the seal: this will allow the seal to adhere to the body edge by pulling it from the inside (it is recommended to lubricate the seal with silicone spray). Position the windscreen in its place (it is advisable to have assistance during this operation) and press it inward while simultaneously pulling the electric cable to ensure the lip of the seal adheres to the frame edge. Reassemble the rear-view mirror and the wiper blades.
Updated on 3 February 2026 by ScegliAuto
Video tutorial
Related tutorials
Volkswagen Maggiolino
(1938-1980 /
MK 1)
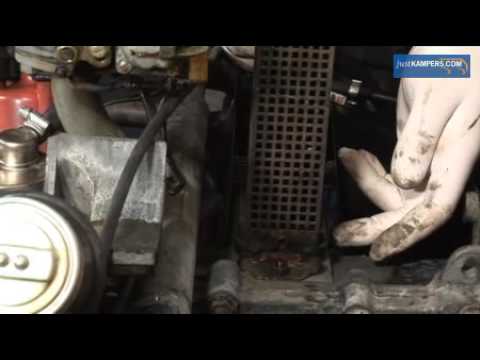
In this brief guide, you will learn the main instructions on how to dismantle and replace the window regulator mechanism on the Volkswagen Beetle. Fi…
Volkswagen Maggiolino
(1938-1980 /
MK 1)
It is often difficult to find new parts for older vehicles, so it is necessary to source replacement parts by dismantling them from vehicles that are…
Volkswagen Maggiolino
(1938-1980 /
MK 1)
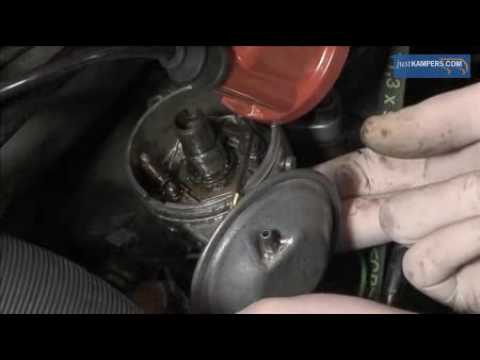
In older cars, the ignition system for the spark plugs relied on a coil and an electrical contact that, when opened, created the energy needed to gen…
Other guides you may be interested in
|
How to Reset the Tyre Pressure Light on the Opel Grandland X
While driving, if you notice the tyre pressure warning light coming on, first check the actual inflation pressure of the tyres and, if necessary, restore the pressures recommended by the manufacturer. After restoring the correct pressures, you need to reset the warning light that has illuminated on the instrument cluster. To do this, locate the reset button on the lower central console. Press this button and hold it down for at least 3 seconds, after which the low pressure indication will turn off. by ScegliAuto More videos
|
|
For advertising on this site Write to info@scegliauto.com
ScegliAuto is not responsible for any inaccuracy of the data in the lists. To report any inaccuracy or your business (if you own the business in question), please write to info@scegliauto.com
Number of seconds to generate the page: 0.189
(c) ScegliAuto 2026 - info@scegliauto.com - Privacy policy VAT number: IT01247470535 |
