
|
Do it yourself
| |||
| ||||


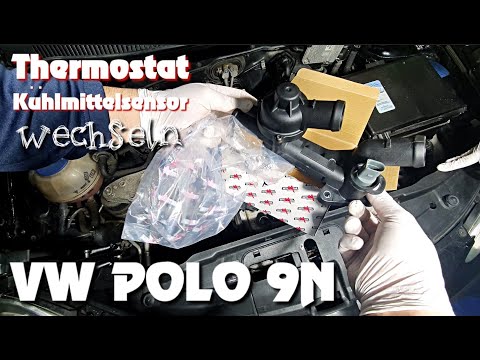
How to Remove the Thermostat on a Volkswagen Polo
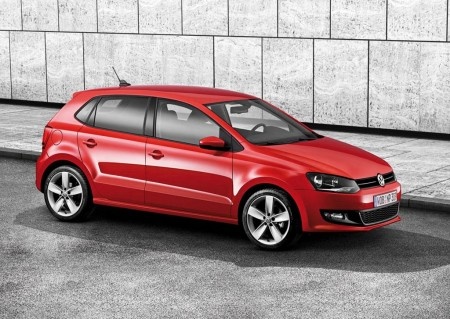
Model: Volkswagen Polo
MK V, 6R, Polo 5, Polo V, MK 5
- Years 2009-2017
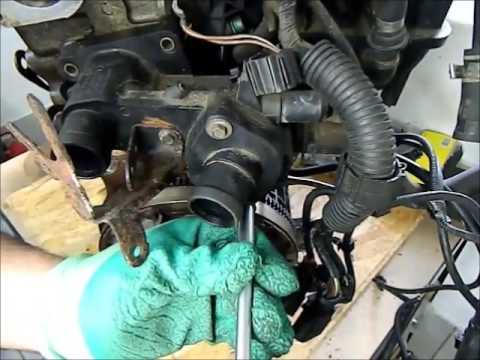
In the following video, learn how to remove the thermostat on a Volkswagen Polo. Open and lift the front bonnet, unscrew the bolts on the thermostat housing cap (use a socket wrench with the appropriate sockets), pull off the sealing cap and extract the coolant thermostat from its housing. Once the part is removed, replace it with a new one, close the housing with the cap, and tighten the bolts securely with all its parts. Ensure that the thermostat valve is correctly inserted and fitted in the appropriate housing, then top up with the new coolant.
Updated on 8 March 2026 by ScegliAuto
Video tutorial
Related tutorials
Volkswagen Polo
(2001-2009 /
MK 4, Polo IV, 9N, MK IV, Polo 4)
In today's tutorial, you will learn how to remove and replace the coolant thermostat of the Volkswagen Polo 1.2. First, open the bonnet and start by …
Volkswagen Polo
(2001-2009 /
MK 4, Polo IV, 9N, MK IV, Polo 4)
In this tutorial we can see how to replace the thermostat in the Volkswagen Polo, an extremely simple and quick operation. First of all, make sure th…
Volkswagen Polo
(1994-2003 /
MK III, 6N, Polo III, MK 3, Polo 3)
In this video, see how to replace the thermostat in a Volkswagen Polo 6n. This is a straightforward task if you have good manual skills. First, remov…
Other guides you may be interested in
|
Frequently Asked QuestionsHow to Unlock the Sony Radio in a Ford Focus?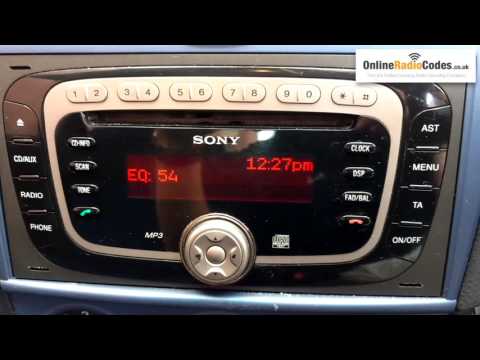
To unlock the Sony radio in a Ford Focus, turn on the ignition so that the radio can also be powered on. Next, press and hold the buttons 1 and 6 on the top of the radio until the serial number of the device appears. This number should then be entered into specific websites: this will allow you to obtain the unlock code for the radio. By entering this four-digit code, you will be able to unlock the radio for use until it is reset again. by ScegliAuto More videos
|
|
For advertising on this site Write to info@scegliauto.com
ScegliAuto is not responsible for any inaccuracy of the data in the lists. To report any inaccuracy or your business (if you own the business in question), please write to info@scegliauto.com
Number of seconds to generate the page: 0.058
(c) ScegliAuto 2026 - info@scegliauto.com - Privacy policy VAT number: IT01247470535 |