
|
Do it yourself
| |||
| ||||


How to Replace the Thermostat in a Volkswagen Polo?
Model: Volkswagen Polo
MK III, 6N, Polo III, MK 3, Polo 3
- Years 1994-2003
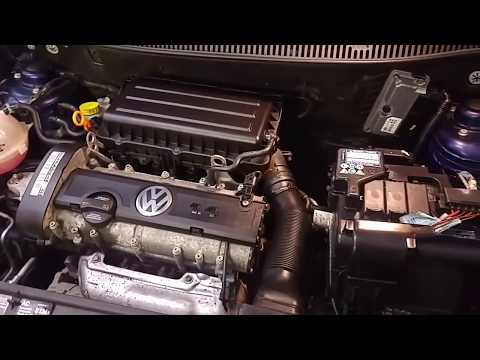
In this video, see how to replace the thermostat in a Volkswagen Polo 6n. This is a straightforward task if you have good manual skills. First, remove the engine cover and disconnect the hose leading to the thermostat. Next, undo the two securing bolts using a 10 mm spanner and remove the housing, taking care to avoid any fluid spillage. Insert the replacement thermostat into the housing, then secure it to the engine block with the two bolts. Finally, reconnect and secure the hose.
Updated on 3 May 2026 by ScegliAuto
Video tutorial
Related tutorials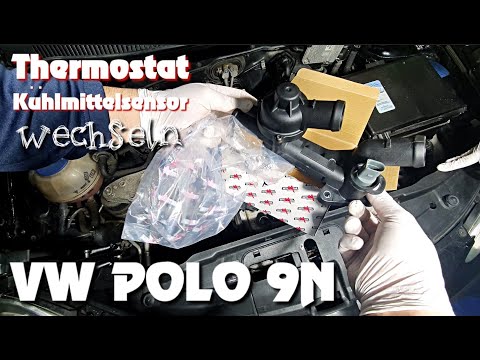
Volkswagen Polo
(2001-2009 /
MK 4, Polo IV, 9N, MK IV, Polo 4)
In this tutorial we can see how to replace the thermostat in the Volkswagen Polo, an extremely simple and quick operation. First of all, make sure th…
Volkswagen Polo
(2009-2017 /
MK V, 6R, Polo 5, Polo V, MK 5)
In the following video, learn how to remove the thermostat on a Volkswagen Polo. Open and lift the front bonnet, unscrew the bolts on the thermostat …
Volkswagen Polo
(2001-2009 /
MK 4, Polo IV, 9N, MK IV, Polo 4)
In order to replace the thermostat on the Volkswagen Polo, you need to go and open the bonnet, in order to have access to the components inside the e…
Other guides you may be interested in
|
Frequently Asked QuestionsHow to Unlock the Sony Radio in a Ford Focus?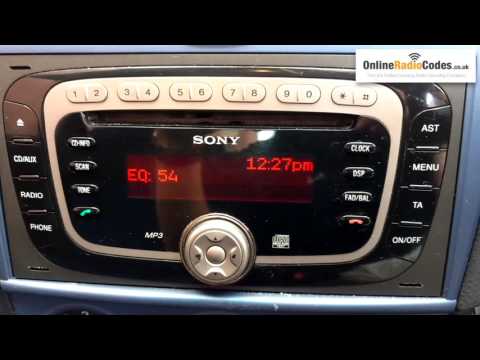
To unlock the Sony radio in a Ford Focus, turn on the ignition so that the radio can also be powered on. Next, press and hold the buttons 1 and 6 on the top of the radio until the serial number of the device appears. This number should then be entered into specific websites: this will allow you to obtain the unlock code for the radio. By entering this four-digit code, you will be able to unlock the radio for use until it is reset again. by ScegliAuto More videos
|
|
For advertising on this site Write to info@scegliauto.com
ScegliAuto is not responsible for any inaccuracy of the data in the lists. To report any inaccuracy or your business (if you own the business in question), please write to info@scegliauto.com
Number of seconds to generate the page: 0.065
(c) ScegliAuto 2026 - info@scegliauto.com - Privacy policy VAT number: IT01247470535 |