
|
Do it yourself
| |||
| ||||


Haldex IV Service for VAG Group Vehicles
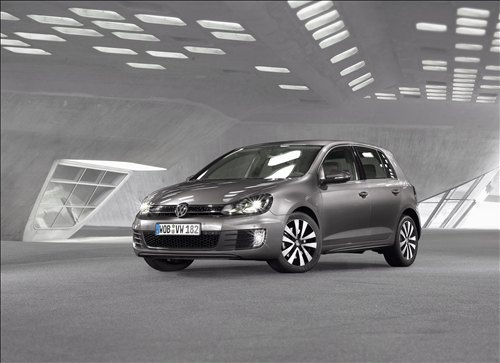
Model: Volkswagen Golf
MK 6, Golf VI, Golf 6, 5K1
- Years 2008-2012
In this video, we can see how to service the Haldex system on a VAG group vehicle (in this case, a Volkswagen Golf 6). This is an all-wheel-drive system that activates only when the front wheels slip, improving stability and grip. Change the Haldex oil, the filter (which is not available as a Volkswagen spare part but can be easily sourced online as a generic replacement), and the rear differential oil. The cause of malfunction is often a clogged filter. As shown by the YouTuber, underneath the vehicle, you will see the lowest plug to drain the oil from the Haldex unit, and the fill plug; the drain plug for the differential oil and then the fill plug (remember to always open the fill plugs first, and only then the drain plugs). Removing the filter can be difficult due to limited space: long-nose pliers will be needed. Before fitting the new filter, clean the seating area. After draining the oils, proceed to refill using the appropriate syringes: when the level is correct, the oil will overflow from the fill plug.
Posted on 23 May 2026 by ScegliAuto
Video tutorial
Related tutorials
Volkswagen Golf
(1997-2003 /
Golf IV, MK 4, Golf 4)
Let’s see how to reset the maintenance on VAG group vehicles using the VCDS system: connect to the car, which must have the ignition on, via the EOBD…

Volkswagen Golf
(2012-2019 /
Golf VII, MK 7, Golf 7)
If you want to deactivate the traction control on your Volkswagen Golf 7, there are some options you can consider. - On-board computer settings: if y…

Volkswagen Golf
(2012-2019 /
Golf VII, MK 7, Golf 7)
The symptom on a VAG group vehicle is heating that does not work or works poorly. The cause is the narrow channels of the cabin radiator, which becom…
Other guides you may be interested in
|
How to Reset the Tyre Pressure Light on the Opel Grandland X
While driving, if you notice the tyre pressure warning light coming on, first check the actual inflation pressure of the tyres and, if necessary, restore the pressures recommended by the manufacturer. After restoring the correct pressures, you need to reset the warning light that has illuminated on the instrument cluster. To do this, locate the reset button on the lower central console. Press this button and hold it down for at least 3 seconds, after which the low pressure indication will turn off. by ScegliAuto More videos
|
|
For advertising on this site Write to info@scegliauto.com
ScegliAuto is not responsible for any inaccuracy of the data in the lists. To report any inaccuracy or your business (if you own the business in question), please write to info@scegliauto.com
Number of seconds to generate the page: 0.100
(c) ScegliAuto 2026 - info@scegliauto.com - Privacy policy VAT number: IT01247470535 |
