
|
Do it yourself
| |||
| ||||


How to Replace the Front Discs and Pads on a Volkswagen Golf IV
Model: Volkswagen Golf
Golf IV, MK 4, Golf 4
- Years 1997-2003
To replace the front discs and pads on a Volkswagen Golf IV, open the bonnet and remove the brake fluid reservoir cap (to prevent pressure build-up). Lift the car and remove the wheel. Using a flat screwdriver, lever the front slot of the caliper to compress the piston. Remove the caps from the caliper bolts and, using a 7 mm Allen key, undo the two screws. Detach the caliper and suspend it with an electric cable to avoid damaging the brake hose. Remove the old pads. Using a star screwdriver, undo the retaining screw for the disc and slide it off. Clean the hub with a wire brush and apply copper grease to prevent oxidation. You can find a complete kit of two discs and four pads for this operation on Amazon with code B07L4W3BKX for £56.01, with free delivery. Clean the new disc with brake cleaner and fit it onto the hub. Re-tighten the retaining screw. Clean the ends of the pad support and apply copper grease. Insert the new pads, reattach the caliper, and tighten the caliper bolts. Refit the wheel and lower the car. Pump the brake pedal to bring the pads closer to the disc. Drive cautiously for the first 50 miles to avoid glazing the pads.
Posted on 1 September 2026 by ScegliAuto
Video tutorial
Related tutorials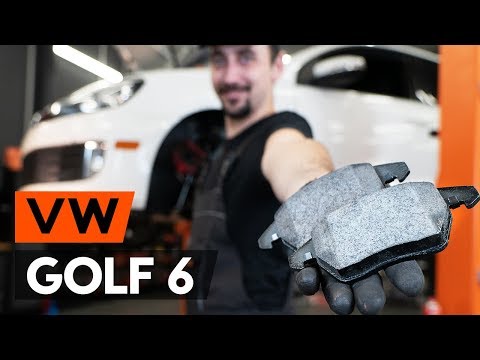
Volkswagen Golf
(2008-2012 /
MK 6, Golf VI, Golf 6, 5K1)
In this video, learn how to replace the front brake pads on a sixth-generation Volkswagen Golf, specifically a GTI version. First, remove the wheel b…

Volkswagen Golf
(1997-2003 /
Golf IV, MK 4, Golf 4)
To replace the front brake pads on a Volkswagen Golf 4, safely lift the vehicle and remove the affected wheel. Next, unscrew the bolts securing the b…
Volkswagen Golf
(2008-2012 /
MK 6, Golf VI, Golf 6, 5K1)
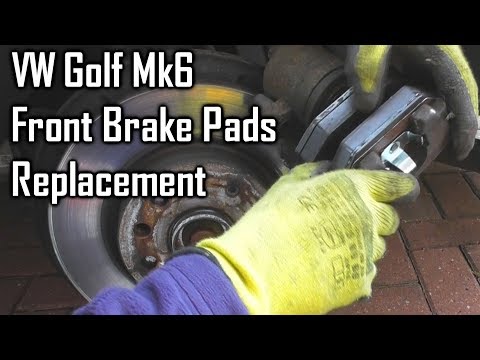
Replace the front brake pads on a VW Golf 6. Lift the car on a column lift (jack) to the desired height, then remove the wheel (using a socket wrench…
Other guides you may be interested in
|
How to reset the tyre pressure warning light on a Hyundai Tucson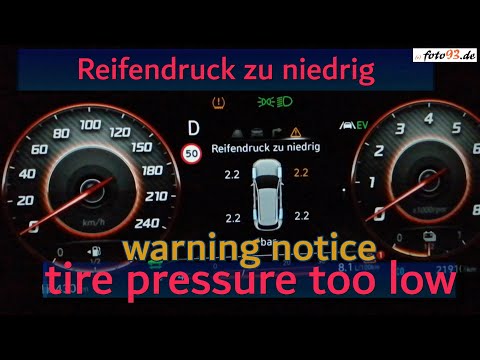
Below are the instructions to reset the tyre pressure warning light (TPMS) on a Hyundai Tucson. First, get into the vehicle and turn on the instrument cluster; then navigate to the vehicle settings until you reach the tyre pressure monitor, identifying the tyre with incorrect pressure. At this point, restore all tyre pressures according to the specifications indicated on the label; this will reset the TPMS and the warning light will be cleared from the instrument cluster! by ScegliAuto More videos
|
|
For advertising on this site Write to info@scegliauto.com
ScegliAuto is not responsible for any inaccuracy of the data in the lists. To report any inaccuracy or your business (if you own the business in question), please write to info@scegliauto.com
Number of seconds to generate the page: 0.145
(c) ScegliAuto 2026 - info@scegliauto.com - Privacy policy VAT number: IT01247470535 |
