
|
Do it yourself
| |||
| ||||


Disassembly of Window Regulator System and Adjustments
Model: Volkswagen New Beetle
MK 2, 9C
- Years 1999-2012
Once the rear seat base is removed (it is simply clipped in, just pull it upwards to detach it), you can access the mounting pins of the backrests: unscrew the pins along the lower edge, pull the backrest forward, and press it upwards to remove it from its location. The side panel trim is secured with pressure clips along the edges: lever them out to detach and remove the panel; also unscrew the seatbelt guide. Proceed to disassemble the inner panel, where the speaker is located, and then unscrew the mounting pins of the glass holder (you will need to adjust the height of the glass to align the aforementioned pins with the access holes).
Finally, disassemble the window regulator system and place it on the bench for adjustments.
Updated on 5 February 2026 by ScegliAuto
Video tutorial
Related tutorials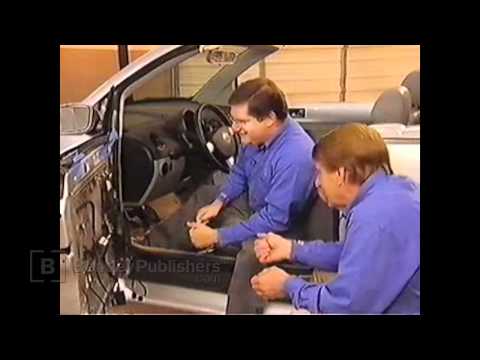
Volkswagen New Beetle
(1999-2012 /
MK 2, 9C)
Replacing the window regulator motor on a New Beetle? Remove the cover panel to access the window regulator motor. Unscrew the internal door handle a…
Volkswagen New Beetle
(1999-2012 /
MK 2, 9C)
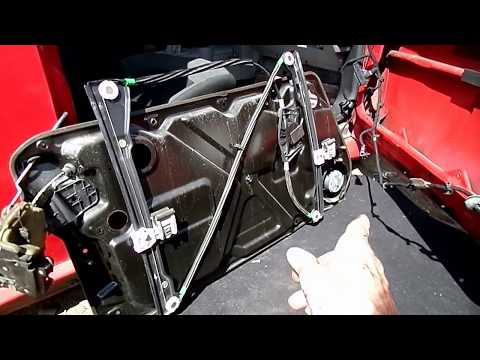
Remove the door cover panel to replace the window regulator motor on a New Beetle? Unscrew the screws of the internal door handle after removing the …
Volkswagen New Beetle
(1999-2012 /
MK 2, 9C)
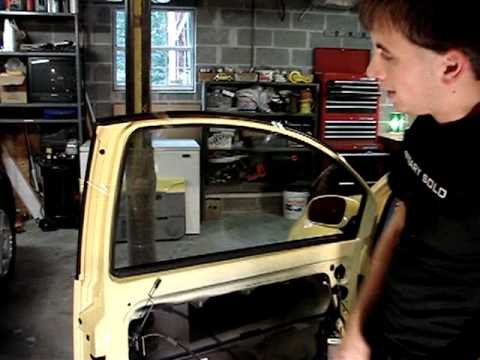
Before proceeding with disassembly, lower the window by about 5 cm (this aligns the locking pins of the glass with the corresponding access holes for…
Other guides you may be interested in
|
How to Remove the Front Bumper of the Citroën C4 Picasso?
To remove the front bumper of the Citroën C4 Picasso, you need to take out all the rivets and screws that secure the piece to its housing: these screws are located inside the wheel arches of the front wheels and at the central upper part of the bumper itself. Once all these fastening elements have been removed, you can detach the bumper from its seat by disconnecting the connectors inside and then insert the new replacement part. The new part can then be secured and connected properly, ensuring it is correctly fixed in place. by ScegliAuto More videos
|
|
For advertising on this site Write to info@scegliauto.com
ScegliAuto is not responsible for any inaccuracy of the data in the lists. To report any inaccuracy or your business (if you own the business in question), please write to info@scegliauto.com
Number of seconds to generate the page: 0.066
(c) ScegliAuto 2026 - info@scegliauto.com - Privacy policy VAT number: IT01247470535 |
